Design Description
Design requirements:
Must be made of some kind of flexible fabric or material
Must use a sewing machine to connect and assemble the component parts of your design
Must use some sort of fastening mechanism as part of the design
What I implemented in my prototype
Use of multiple different materials like muslin, fleece, and two unknown materials. One similar to a faux mink and another that is a mixed material fabric.
Secured all materials with a sewing machine
Secured magnets on the insides of the chalk buckets opening and added a metal side release buckle.
Sketches
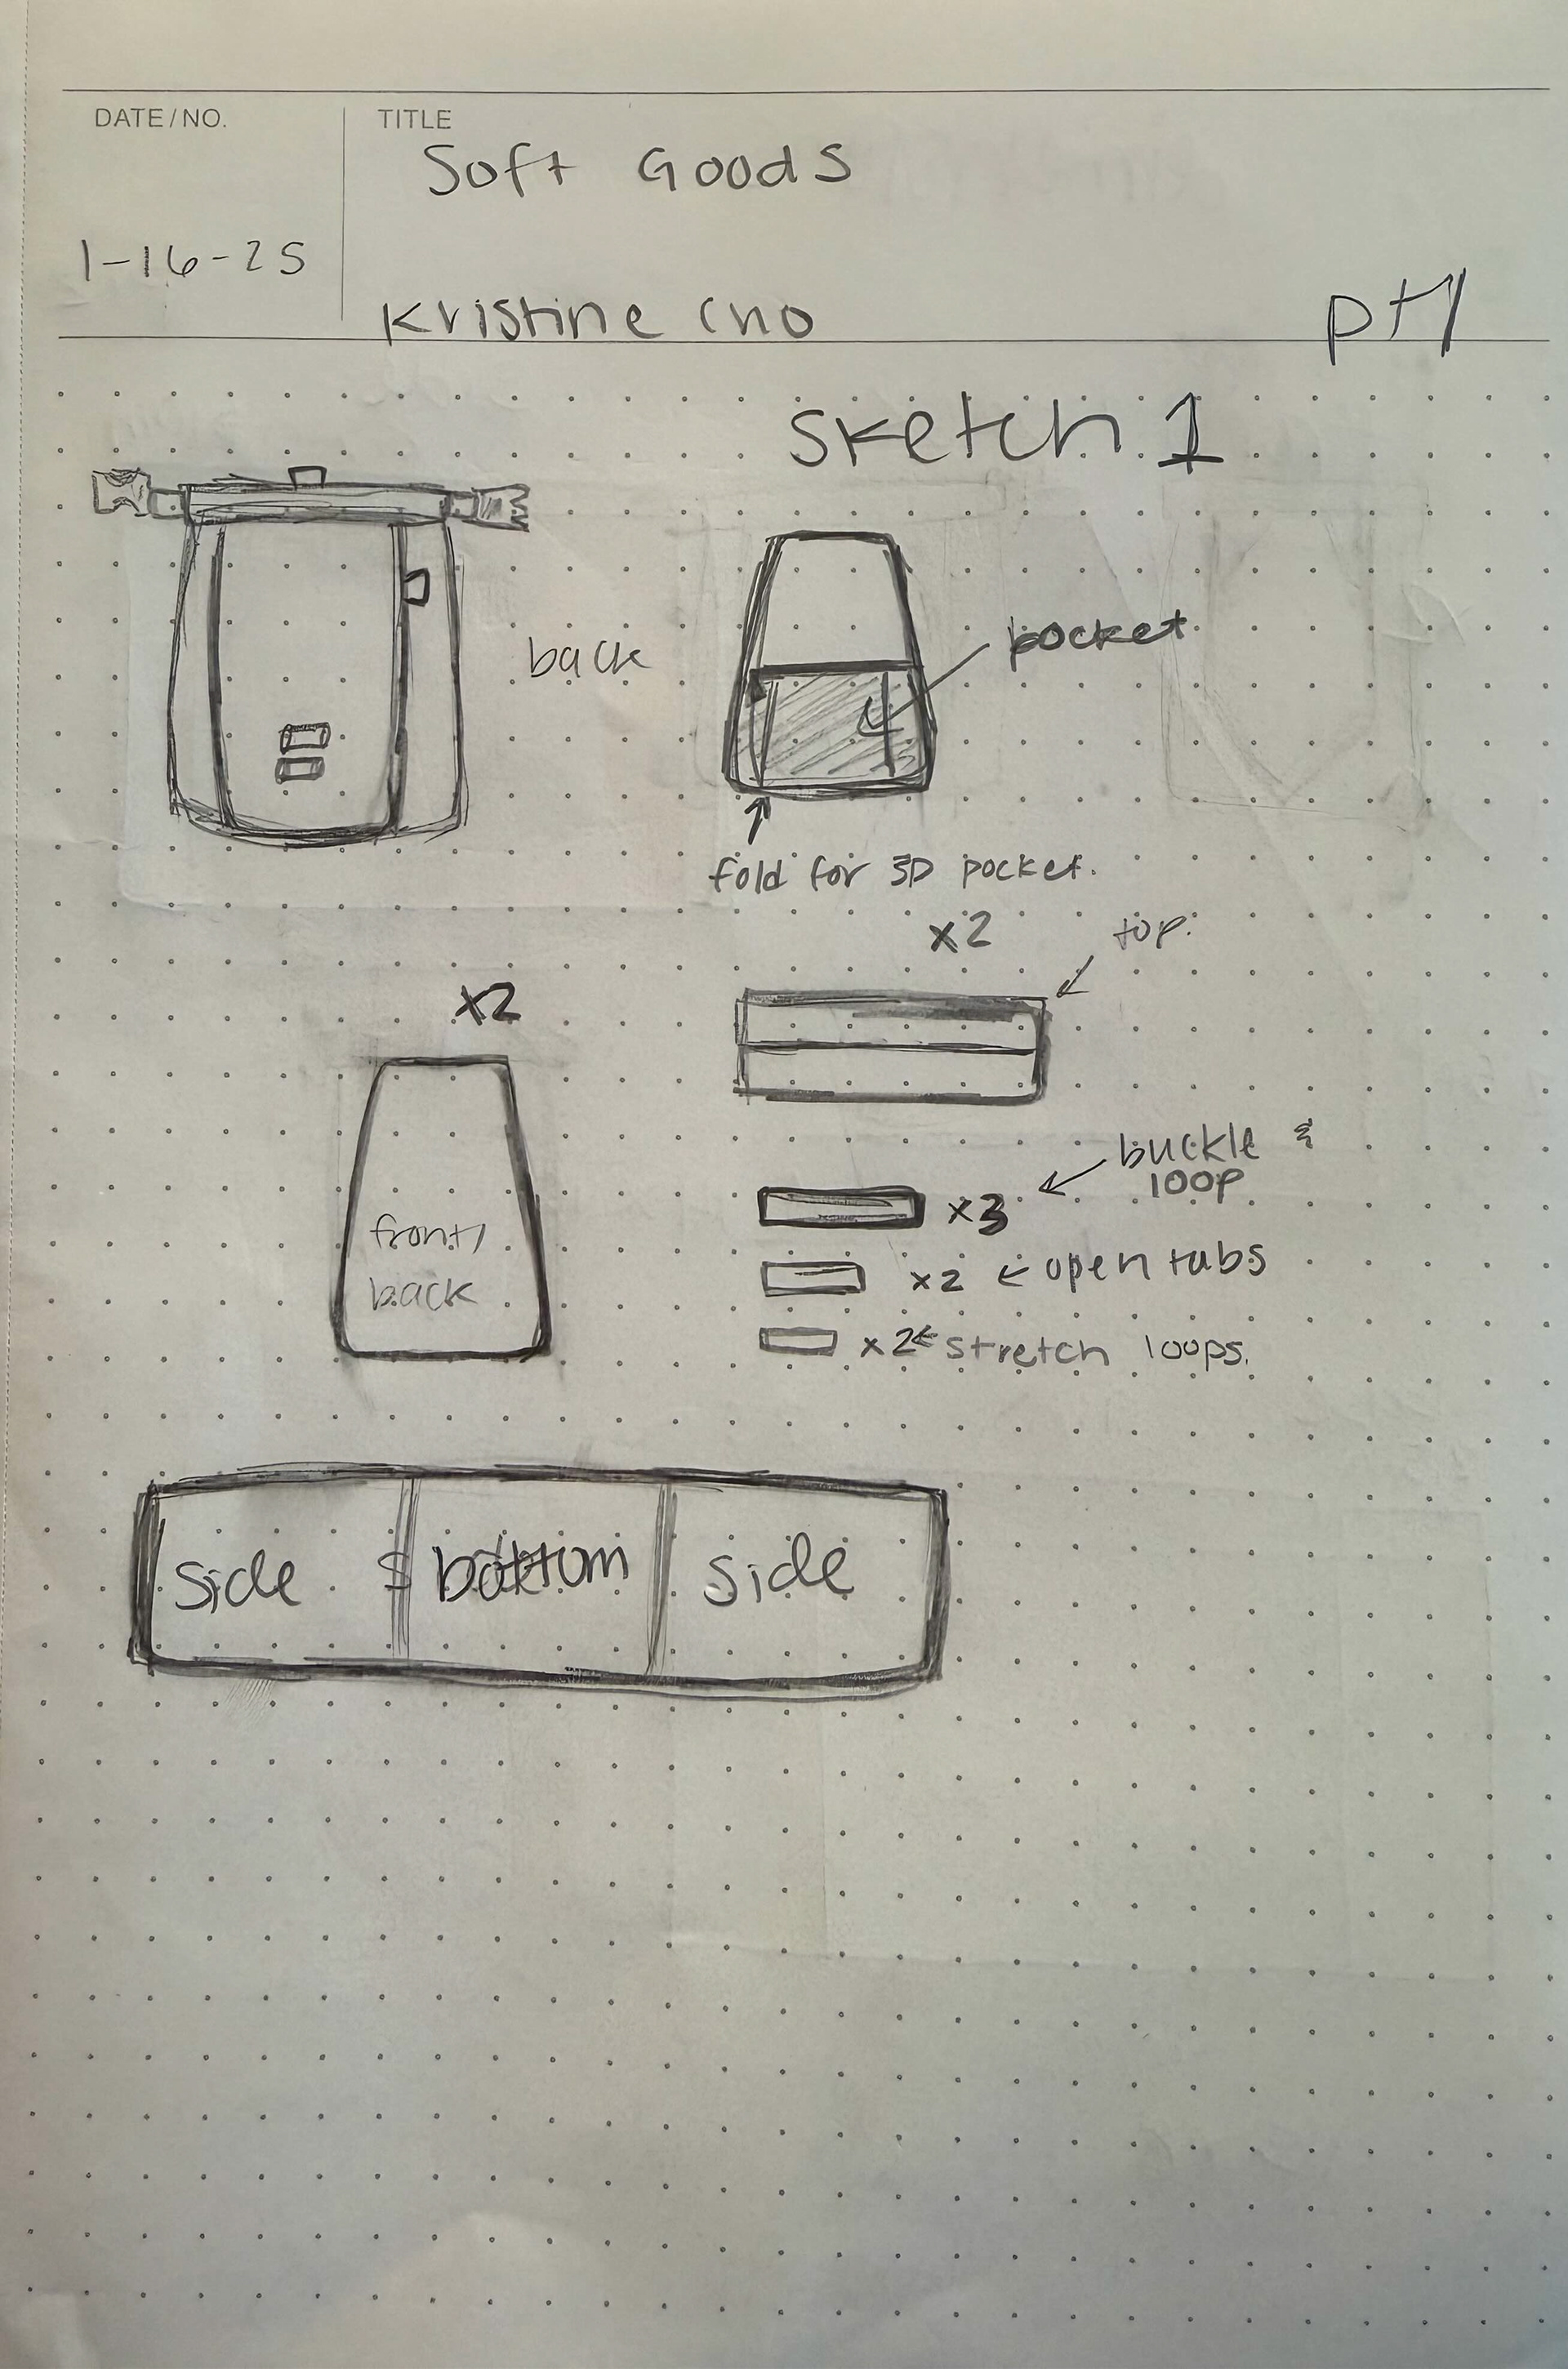
1st Idea Sketch
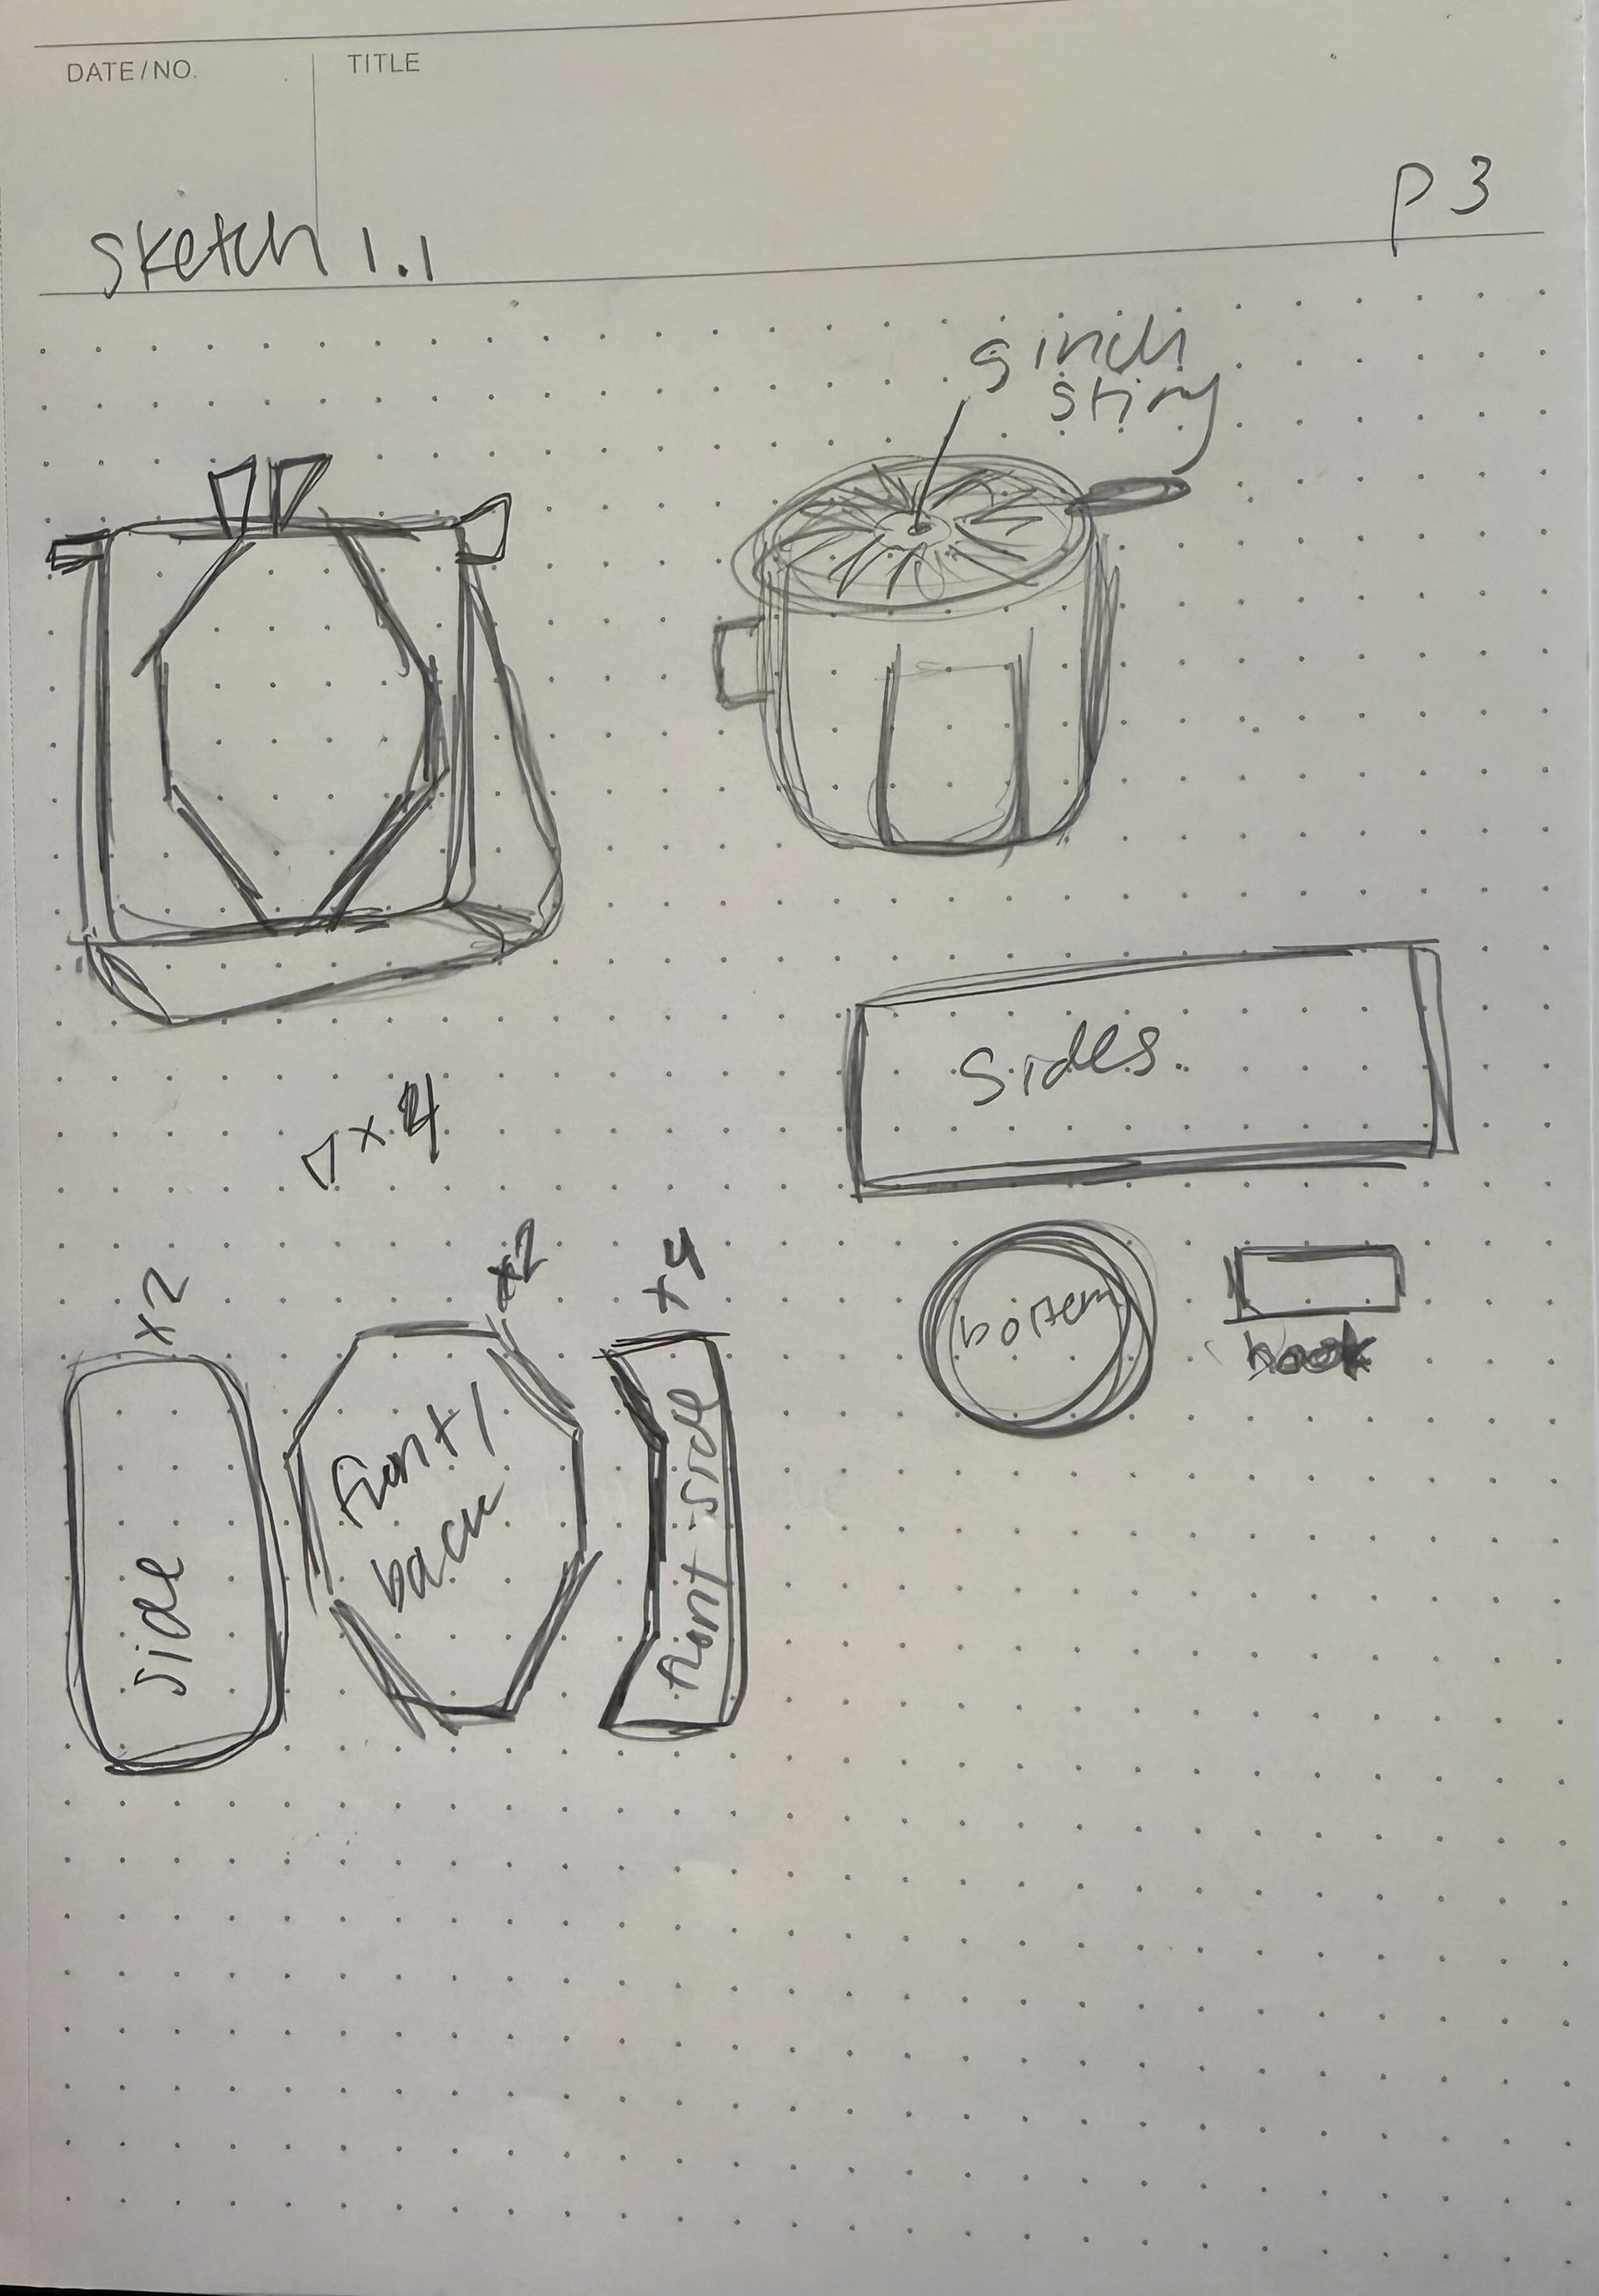
2nd and 3rd Idea Sketch
Prototypes
I first created a paper prototype of the first sketch with tentative dimensions and taped it together, creating a bag like shape. This step was to make sure the shape of the materials is a good shape to create the bag I designed. With this step completed successfully, I moved on to measuring the dimensions and
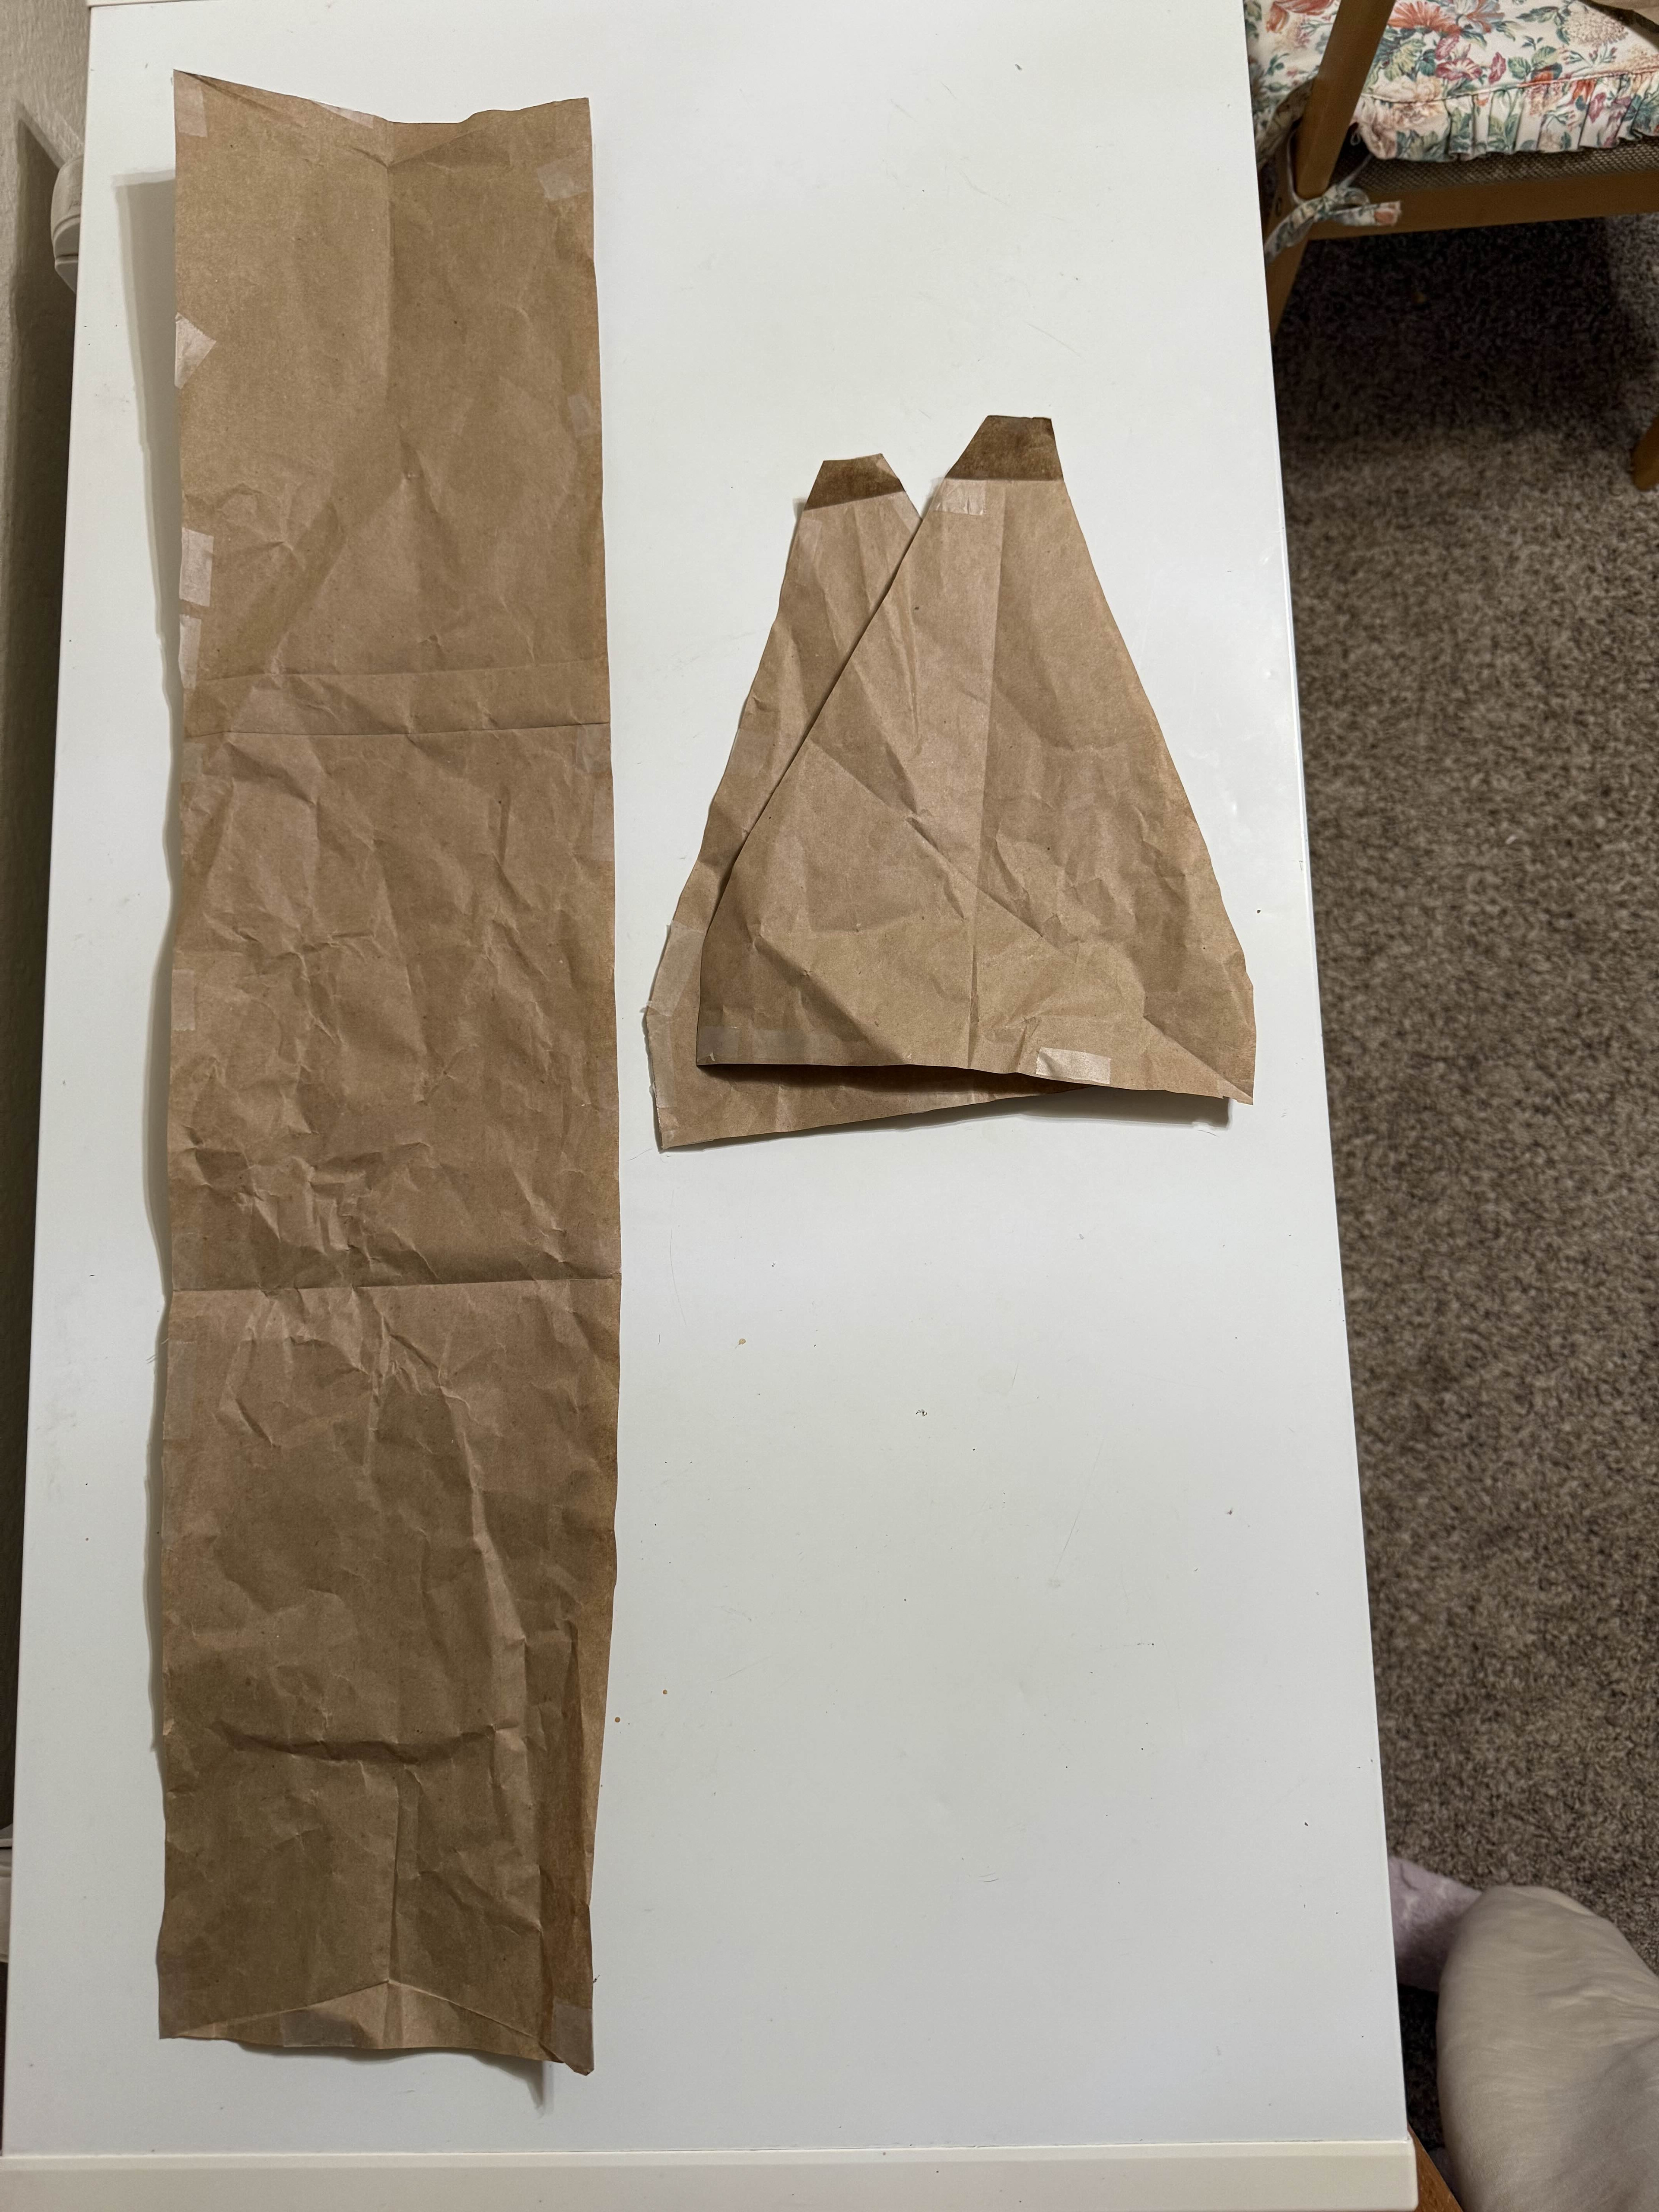
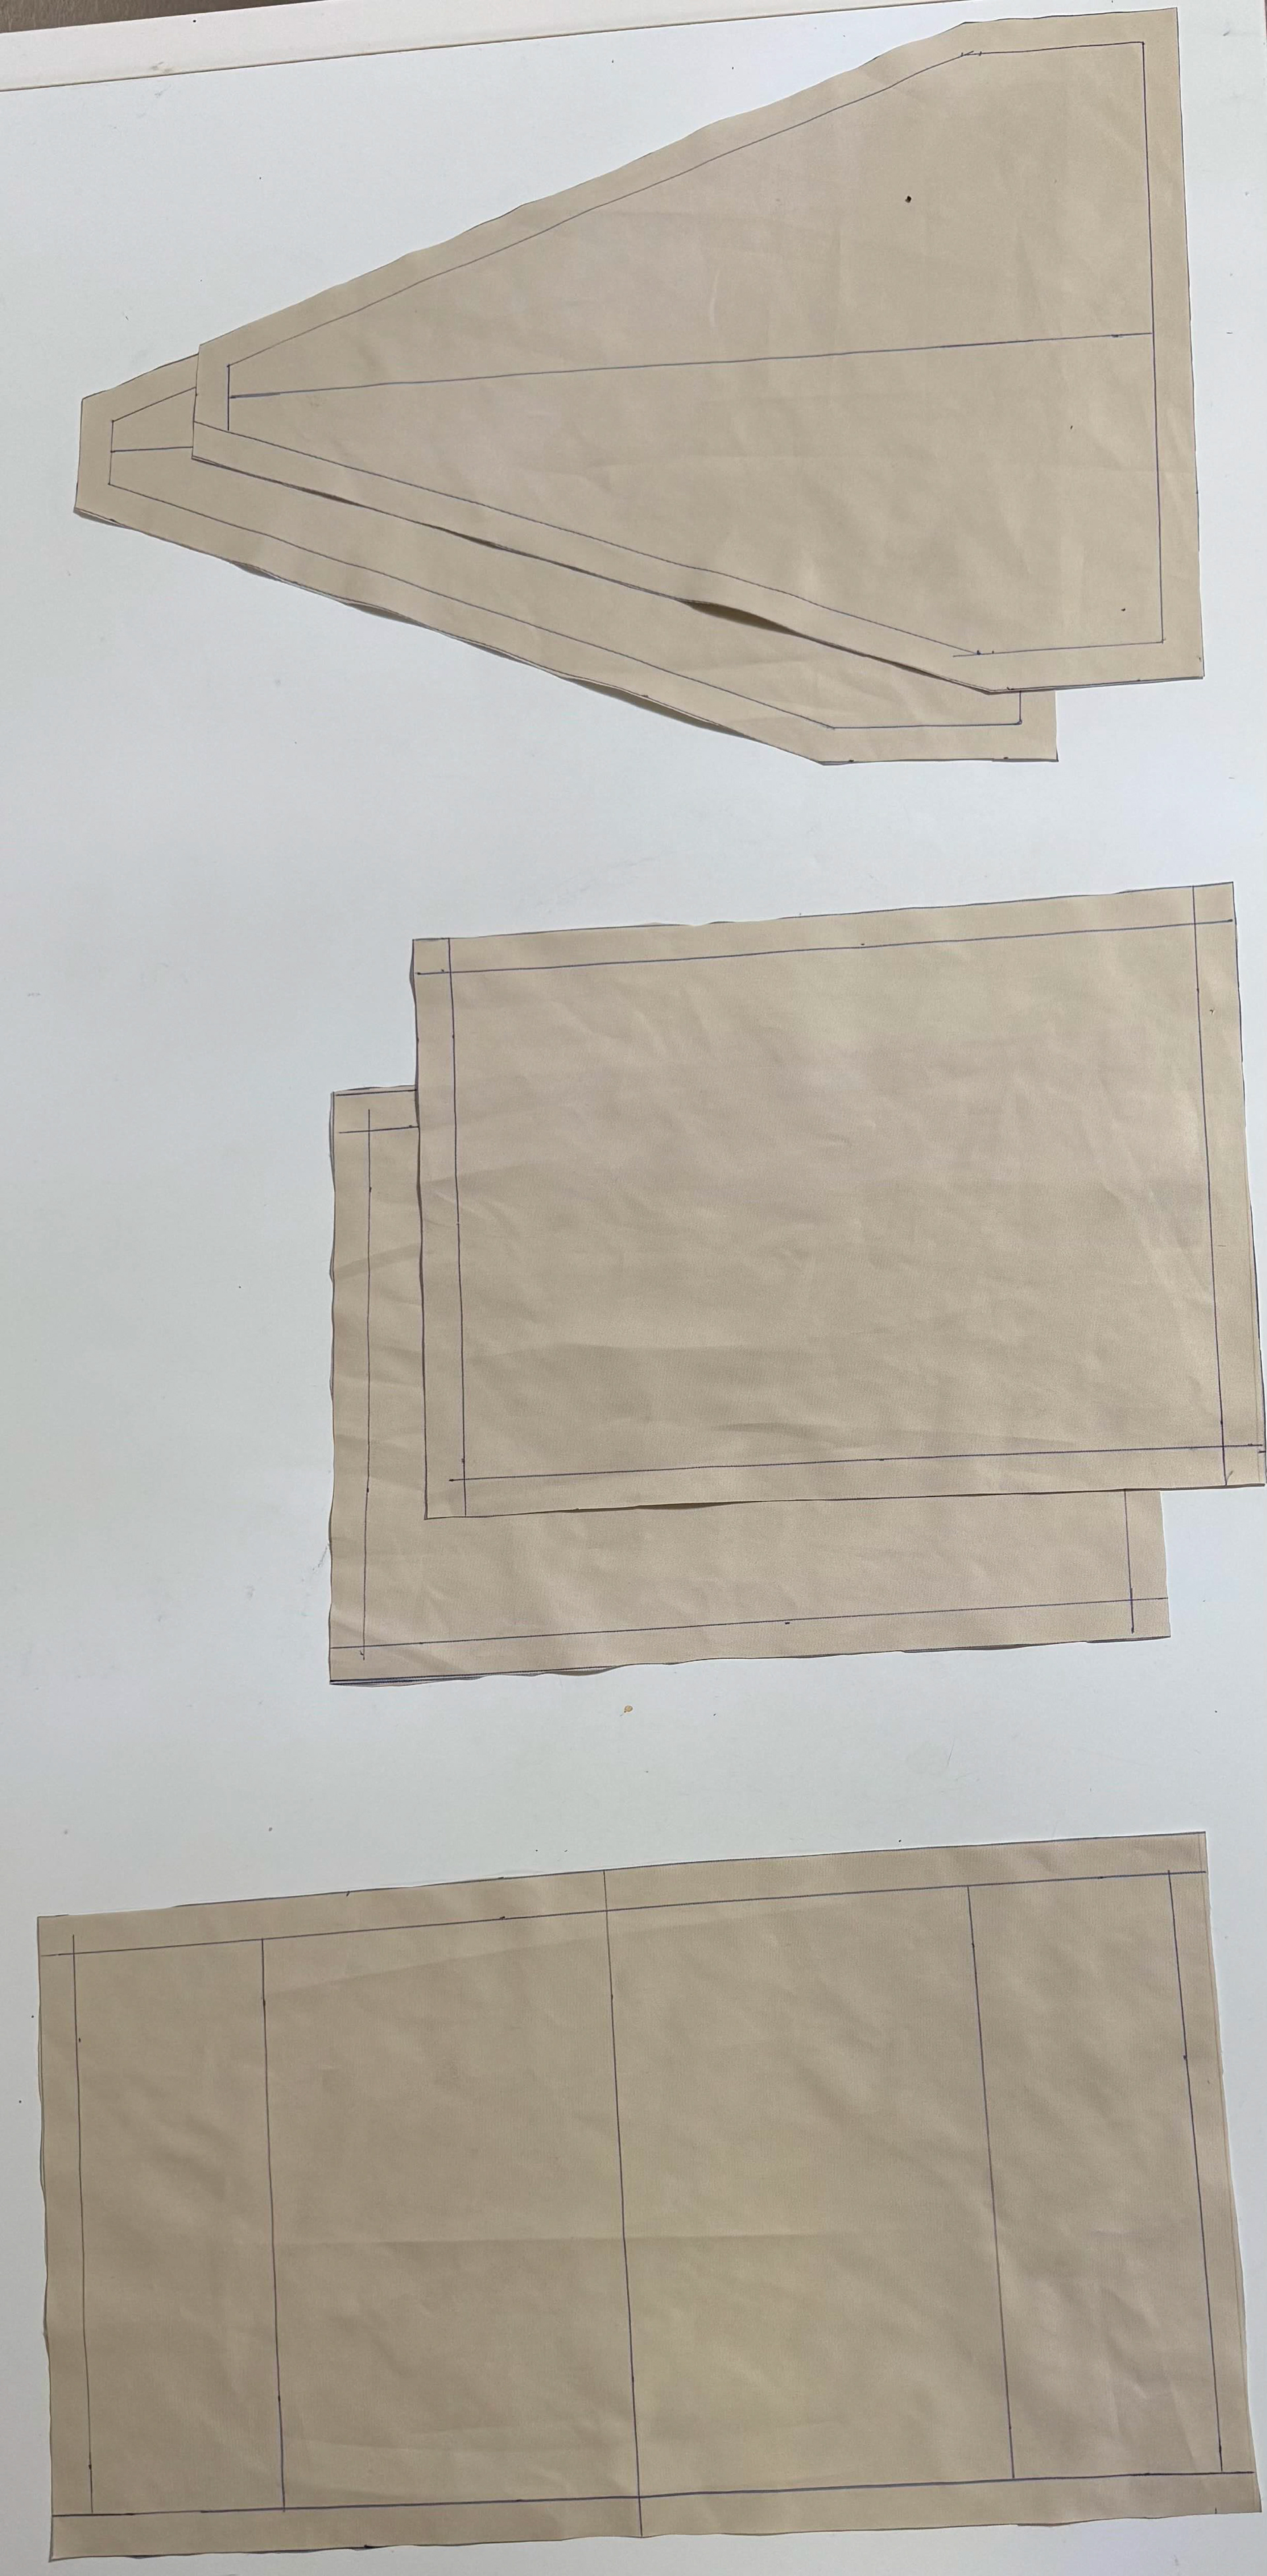
Paper Pattern Cutout
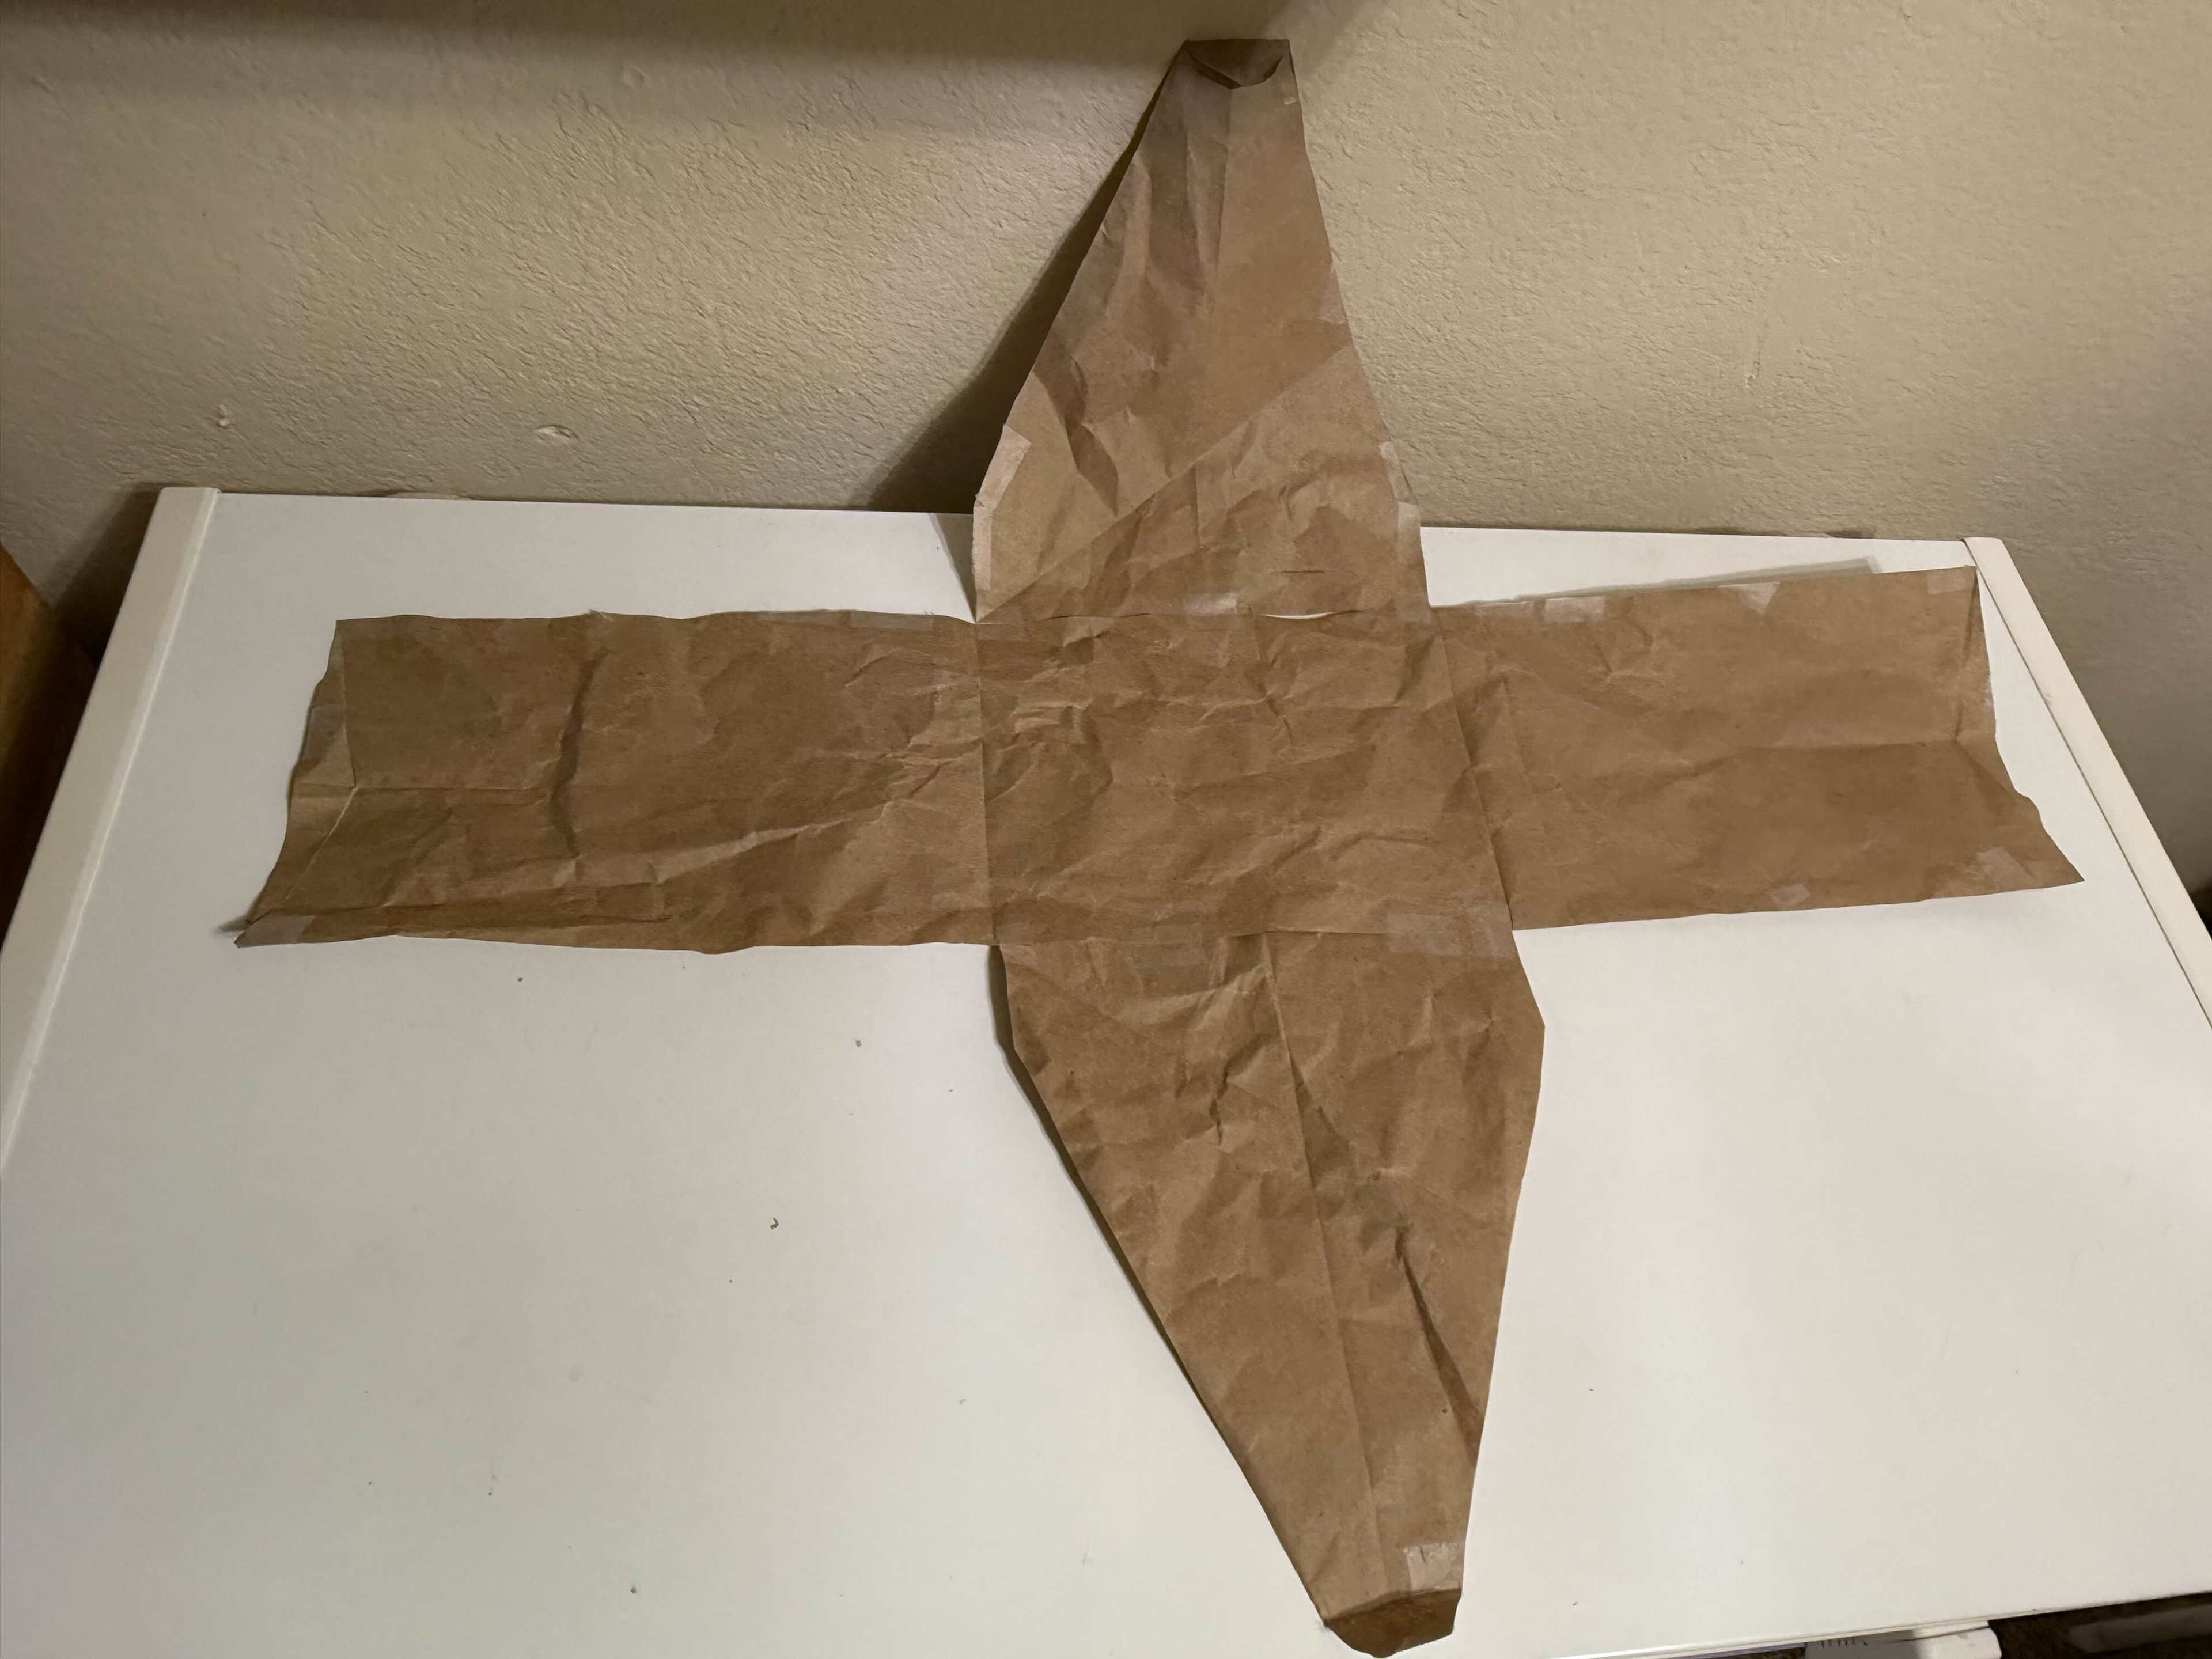
Paper Connected to Sides
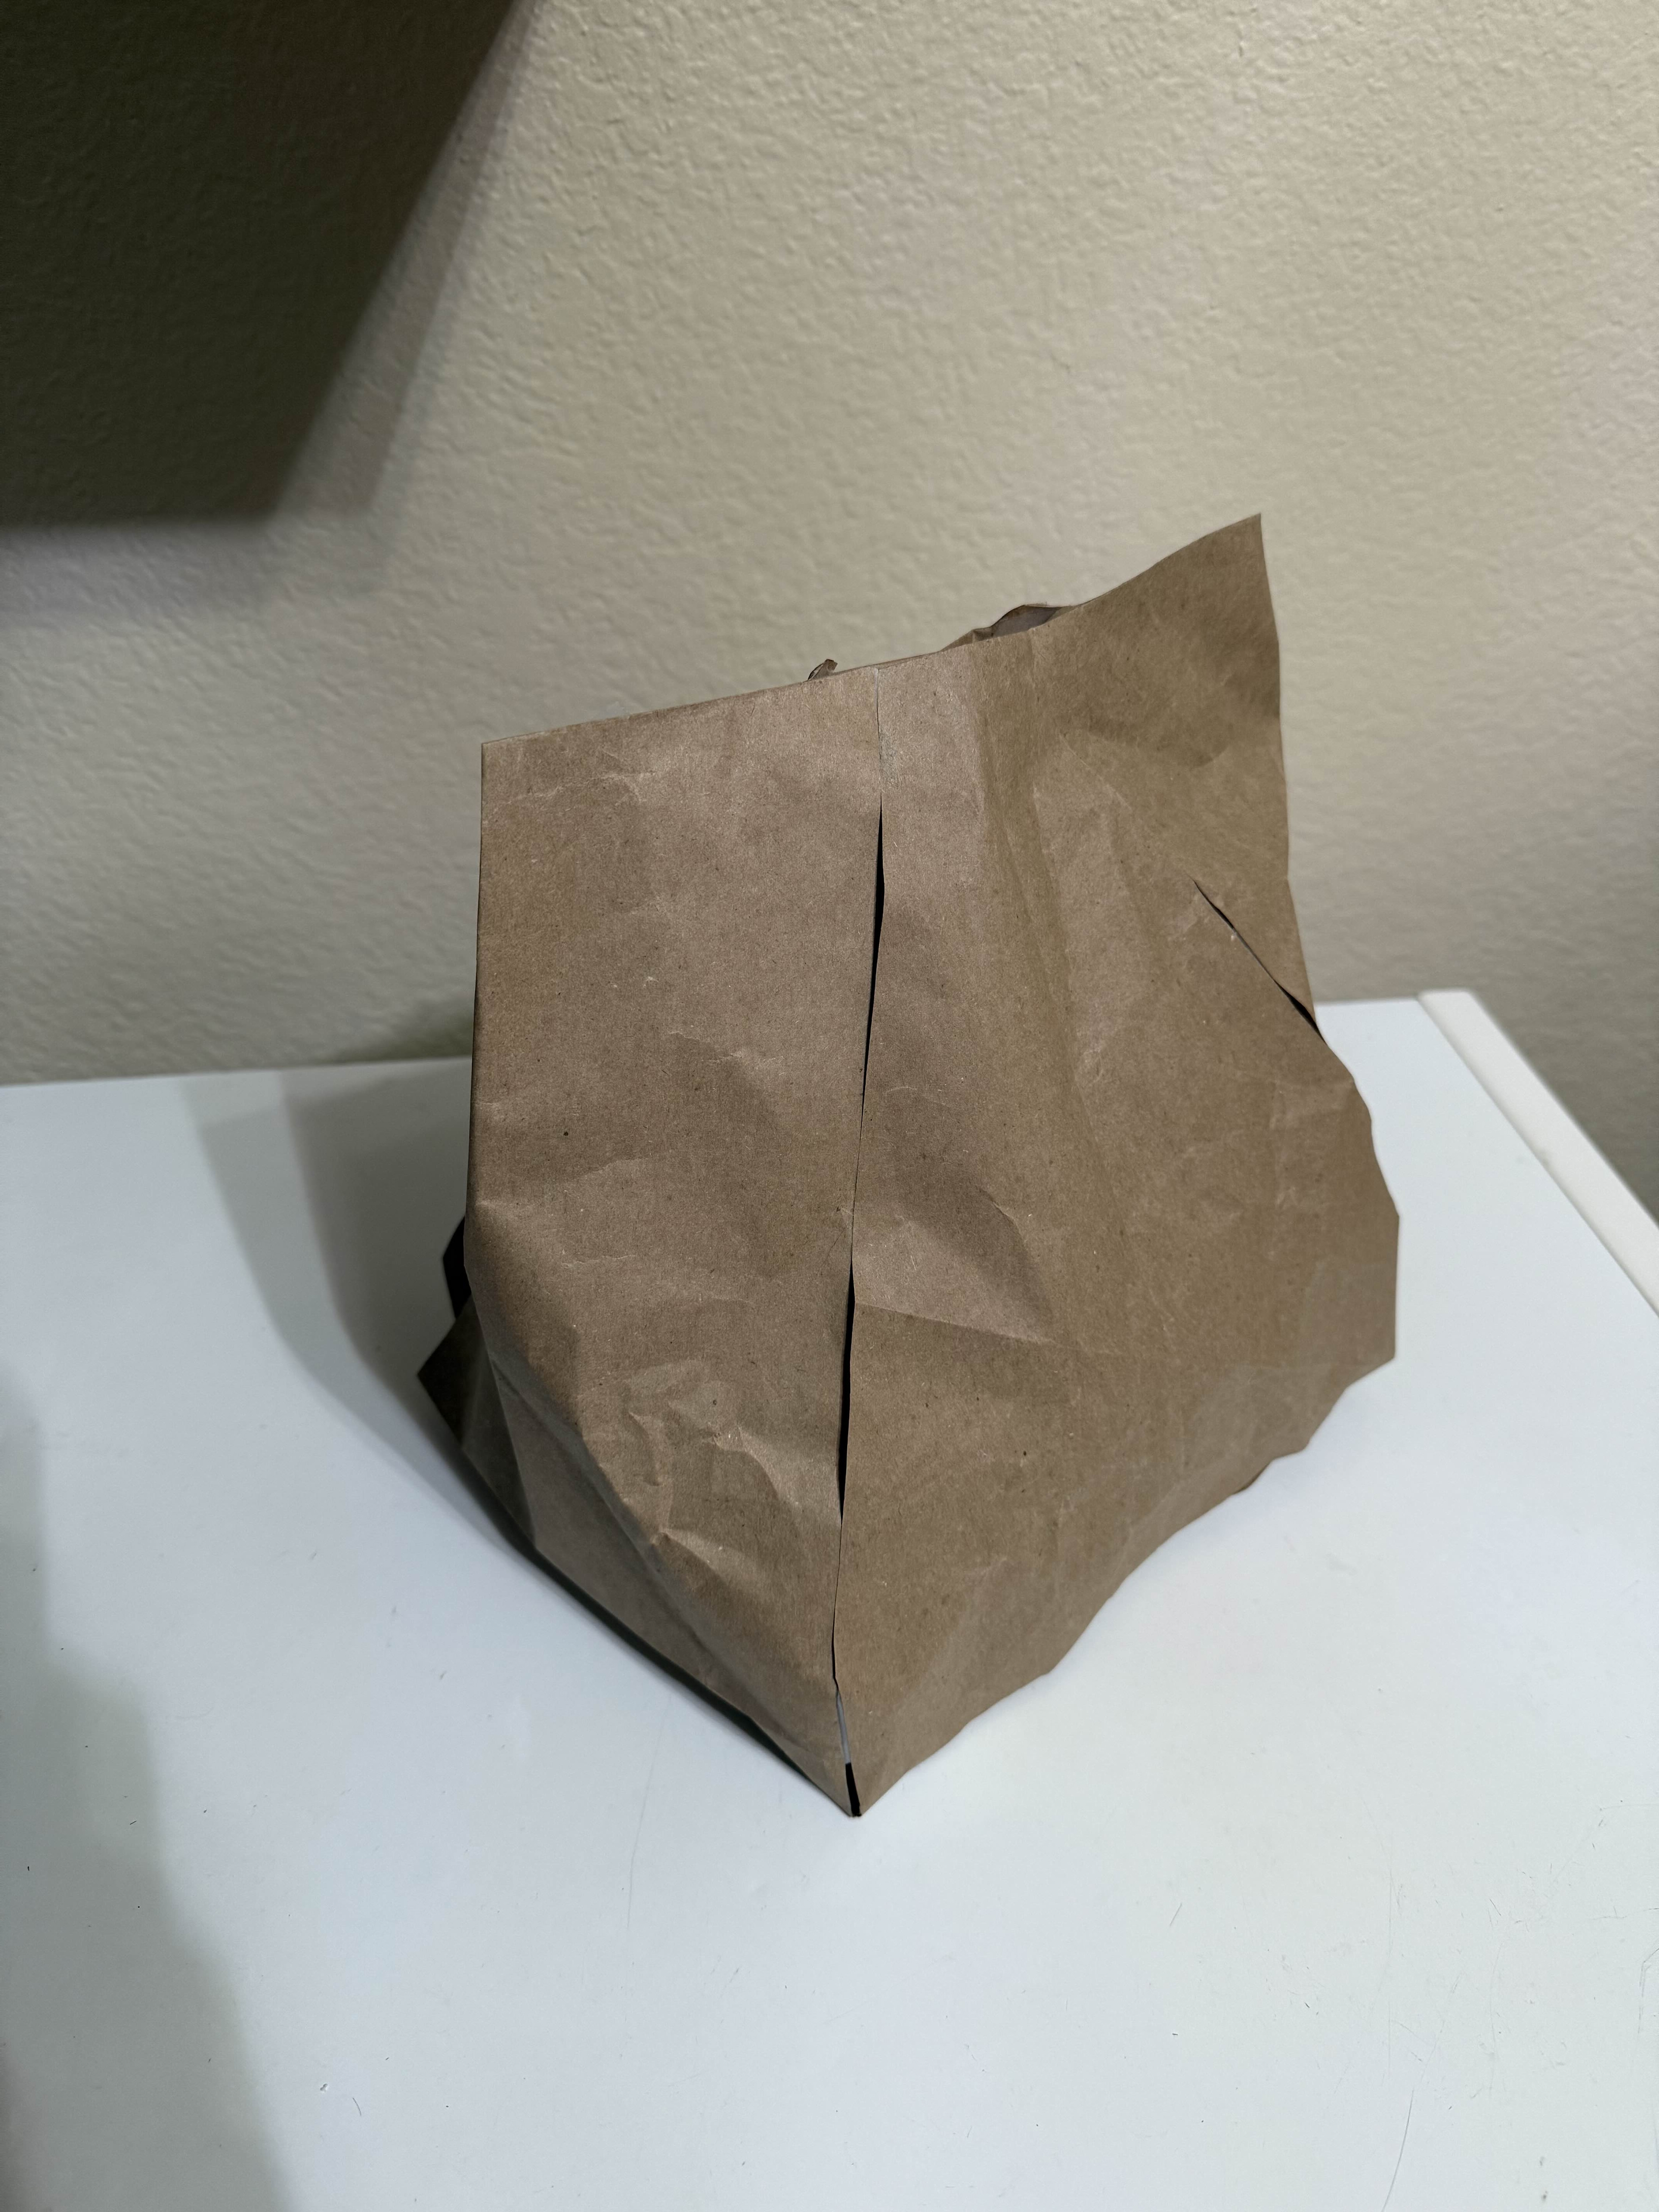
All Sides Connected
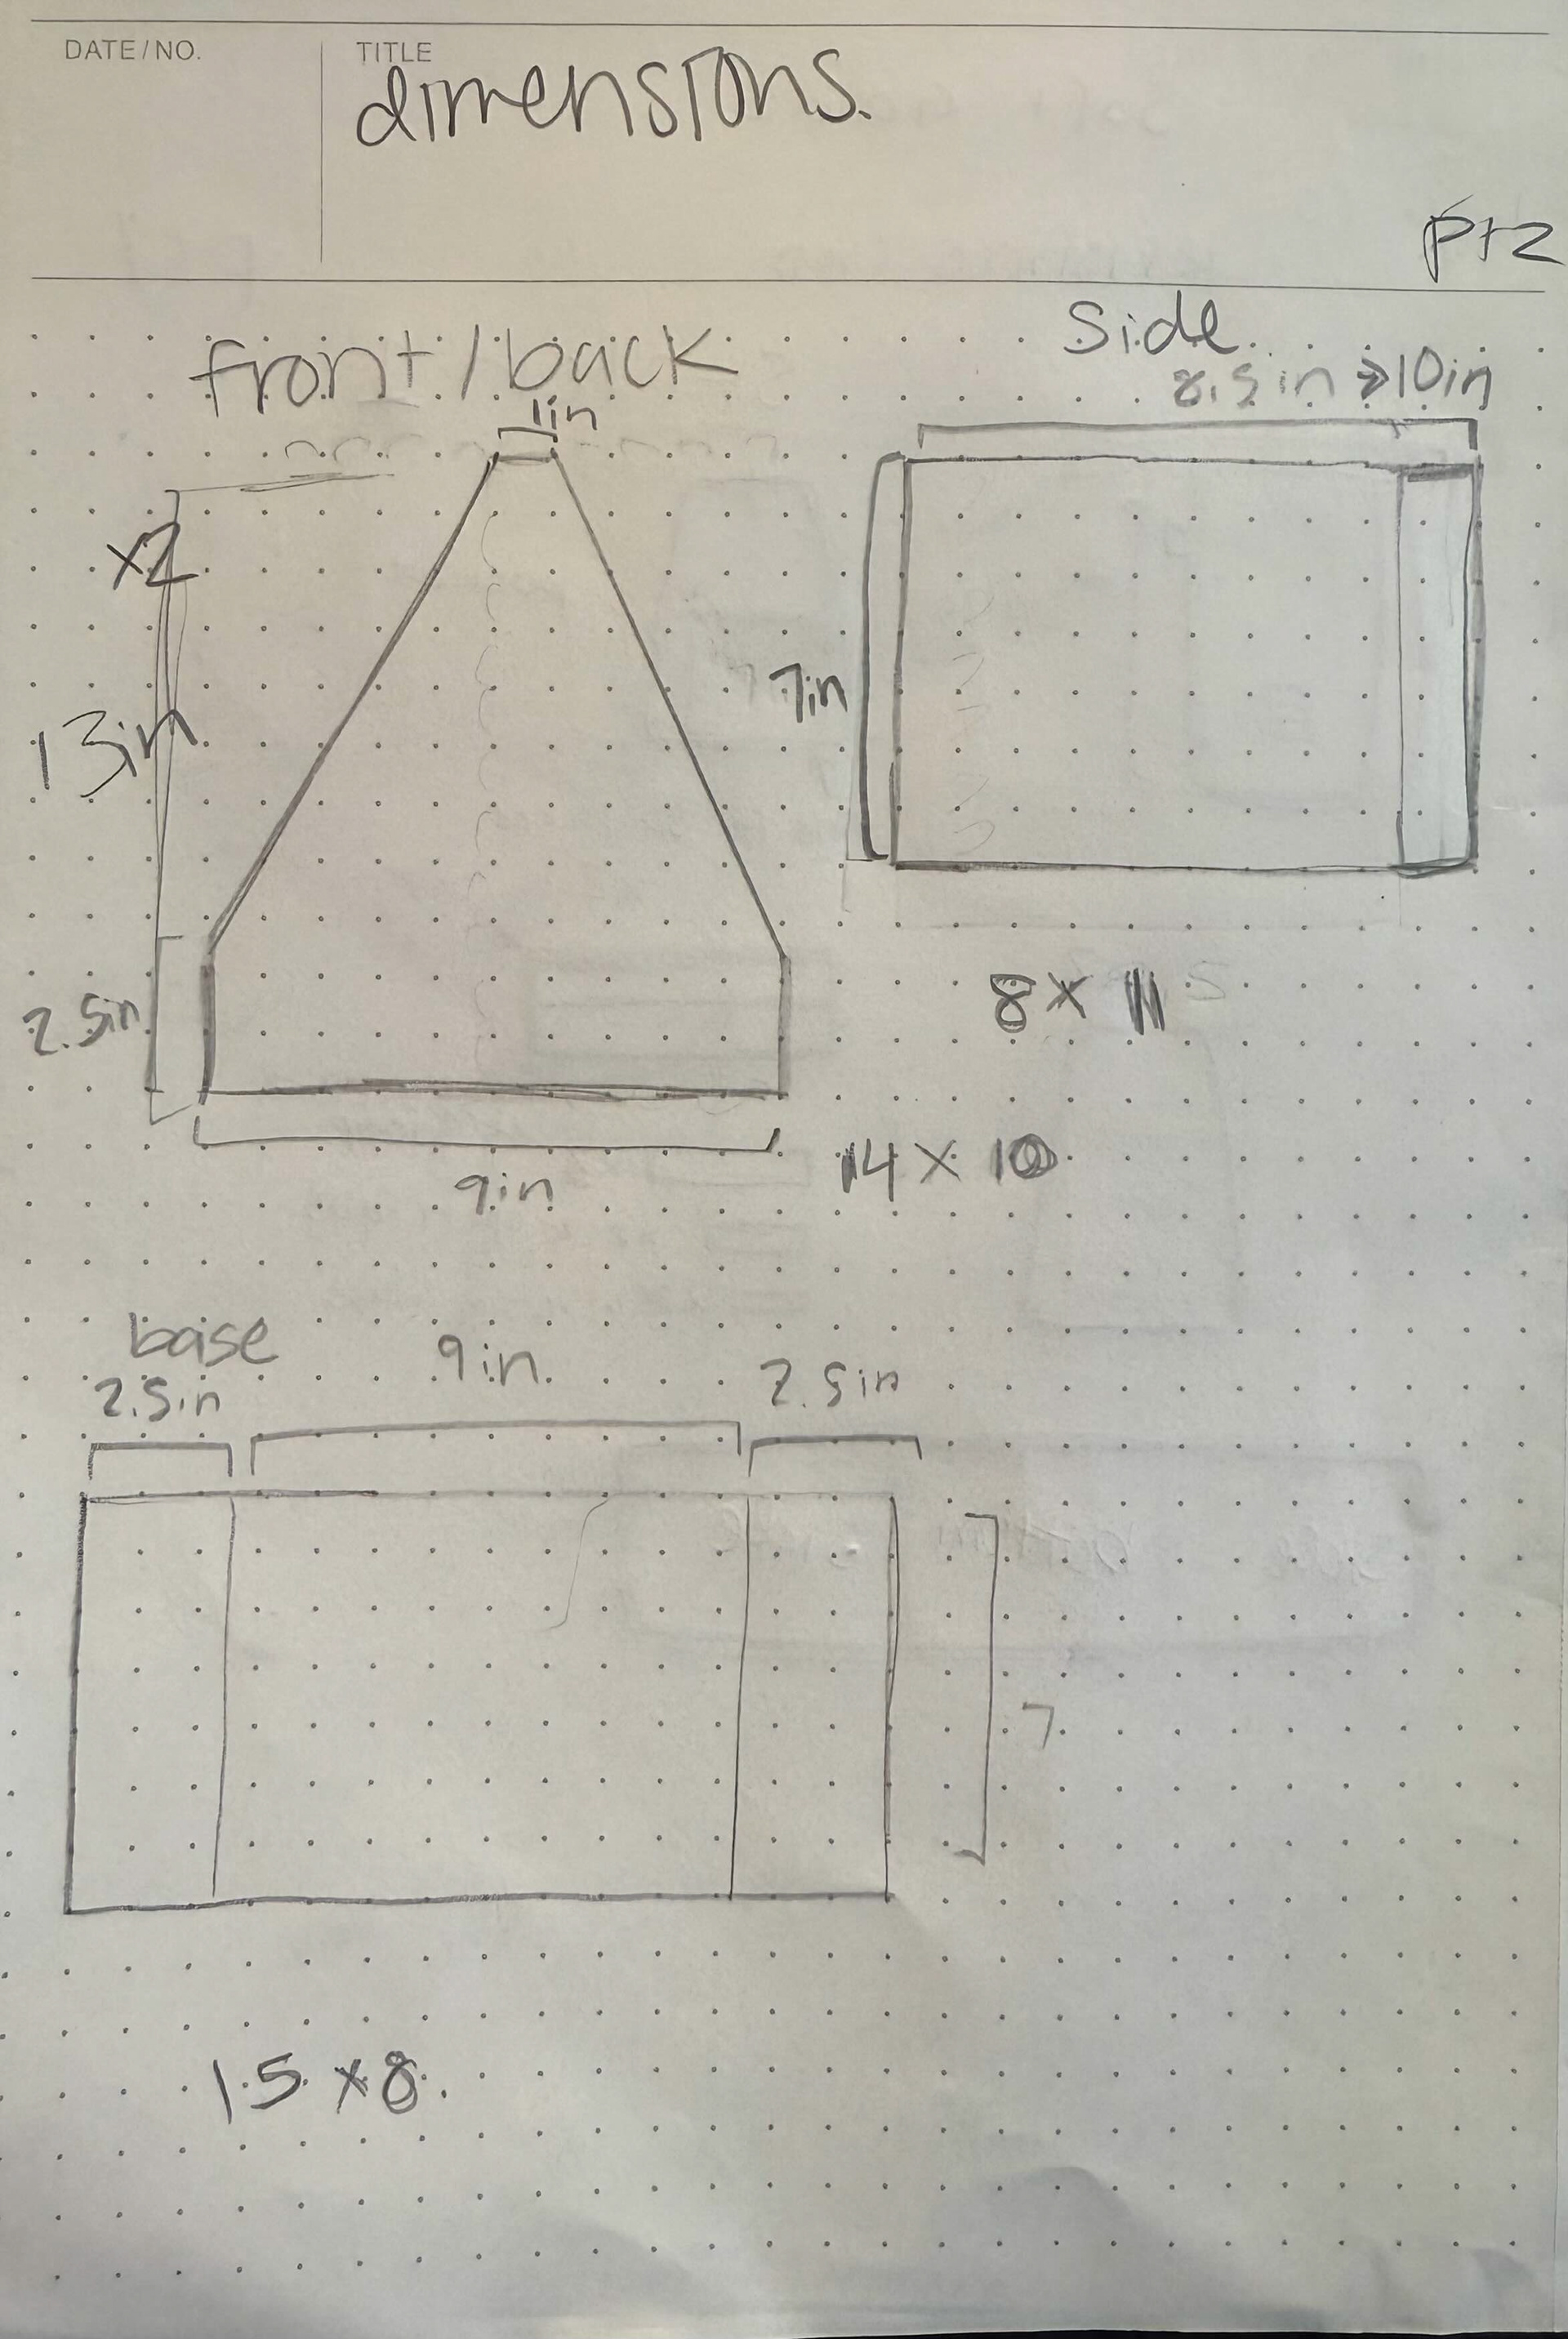
Measured Dimensions
With the previous step completed successfully, I moved on to measuring the dimensions of the paper pattern, adding half an inch to each side of the measured dimensions for the seam allowance, and cutting out the patterns for the first prototype made from muslin and the faux minx material. I decided to add a half inch seam allowance to make sure the sewing process would be easier and leaving room for mistakes since it was the first sewn iteration.
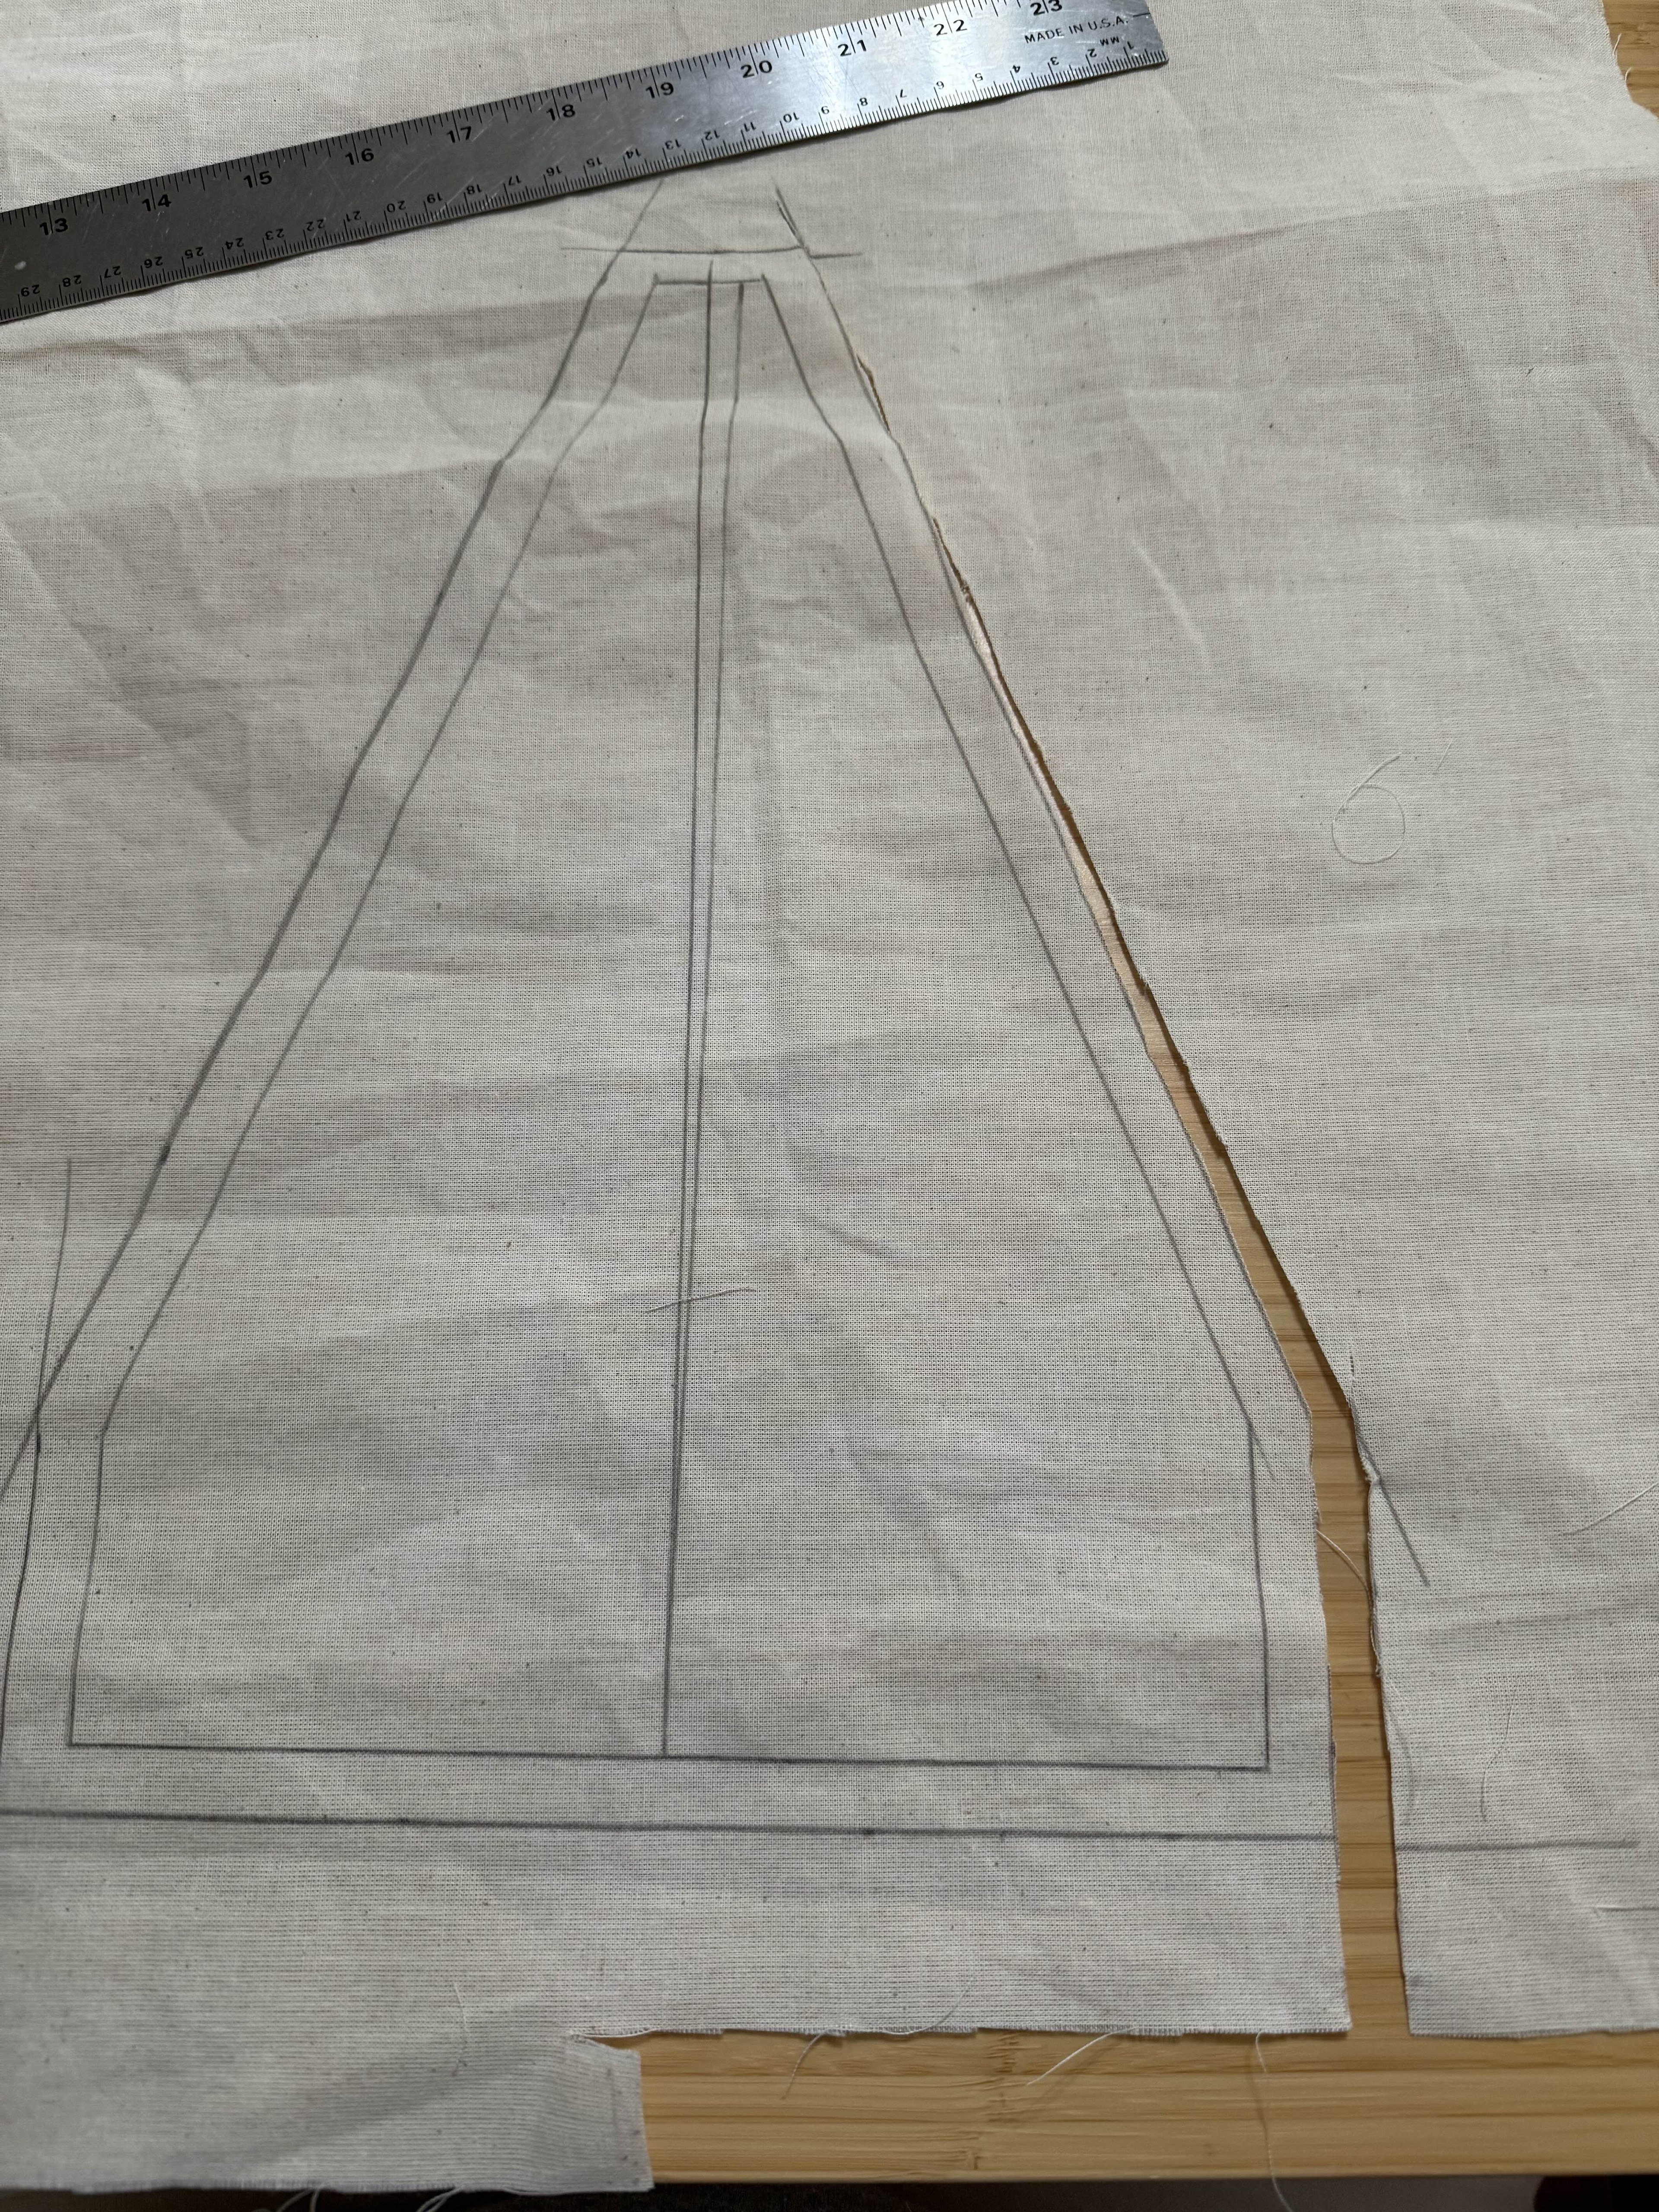
Pattern Measurement with Seam allowance
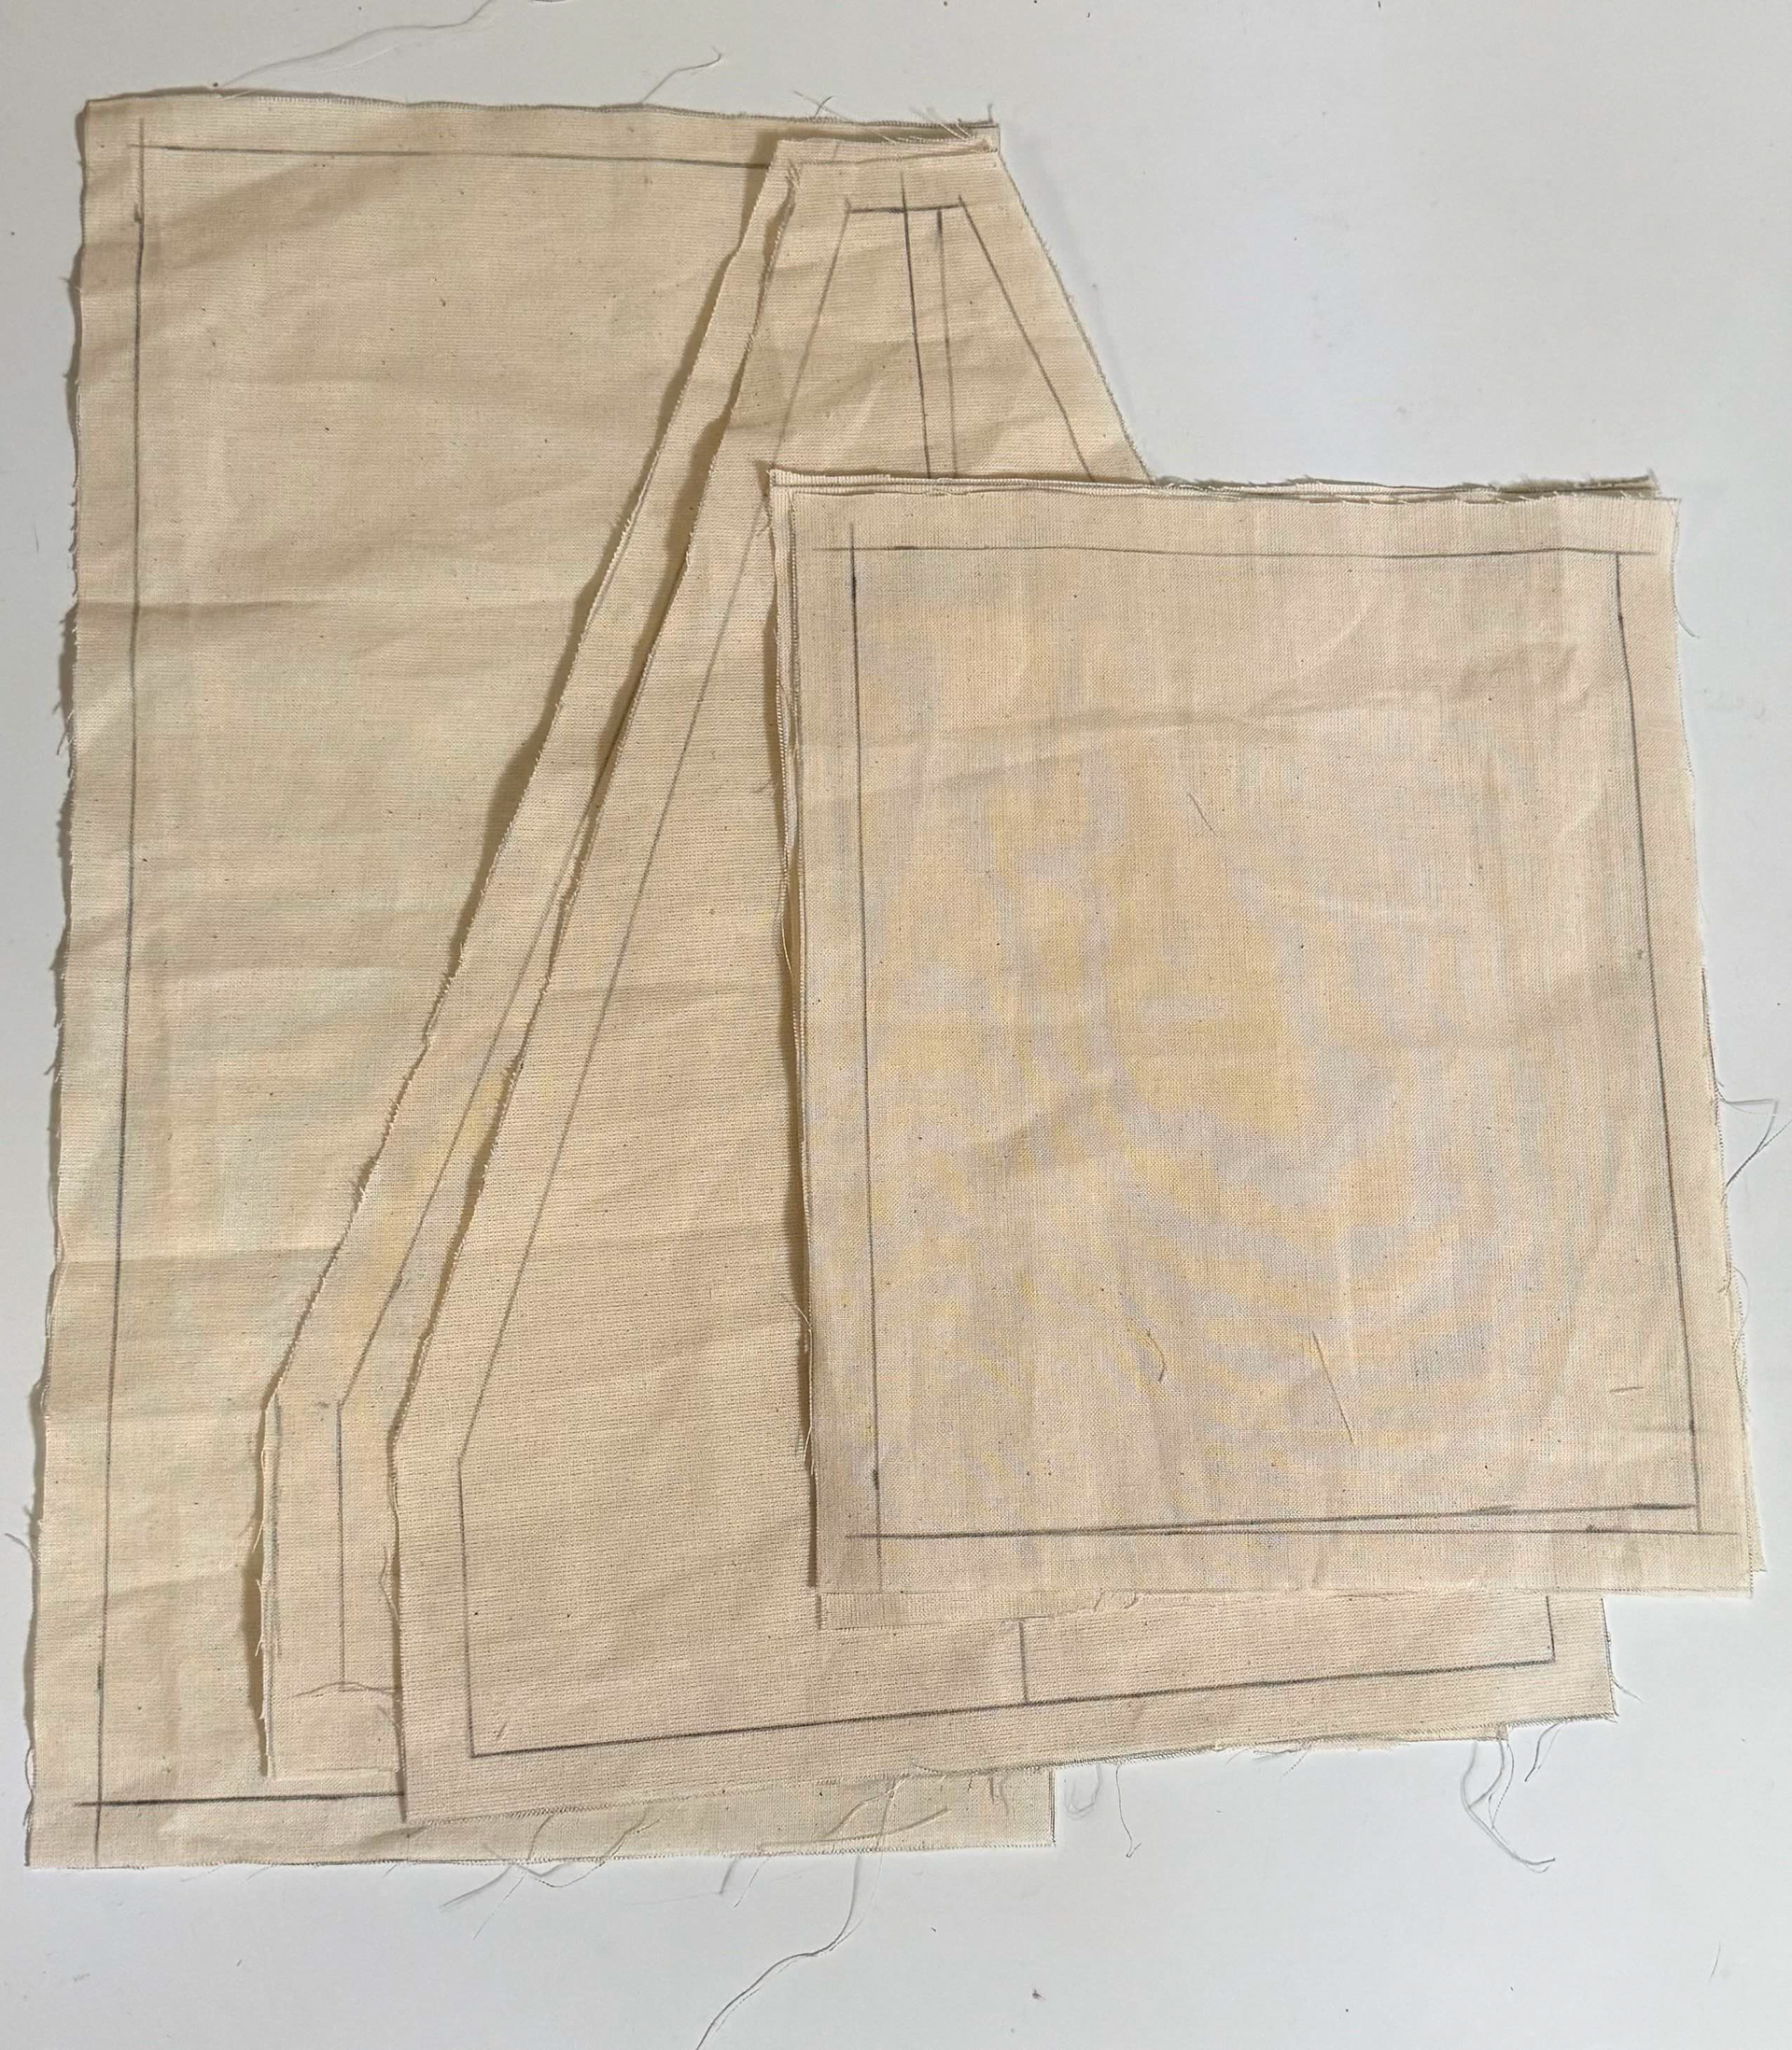
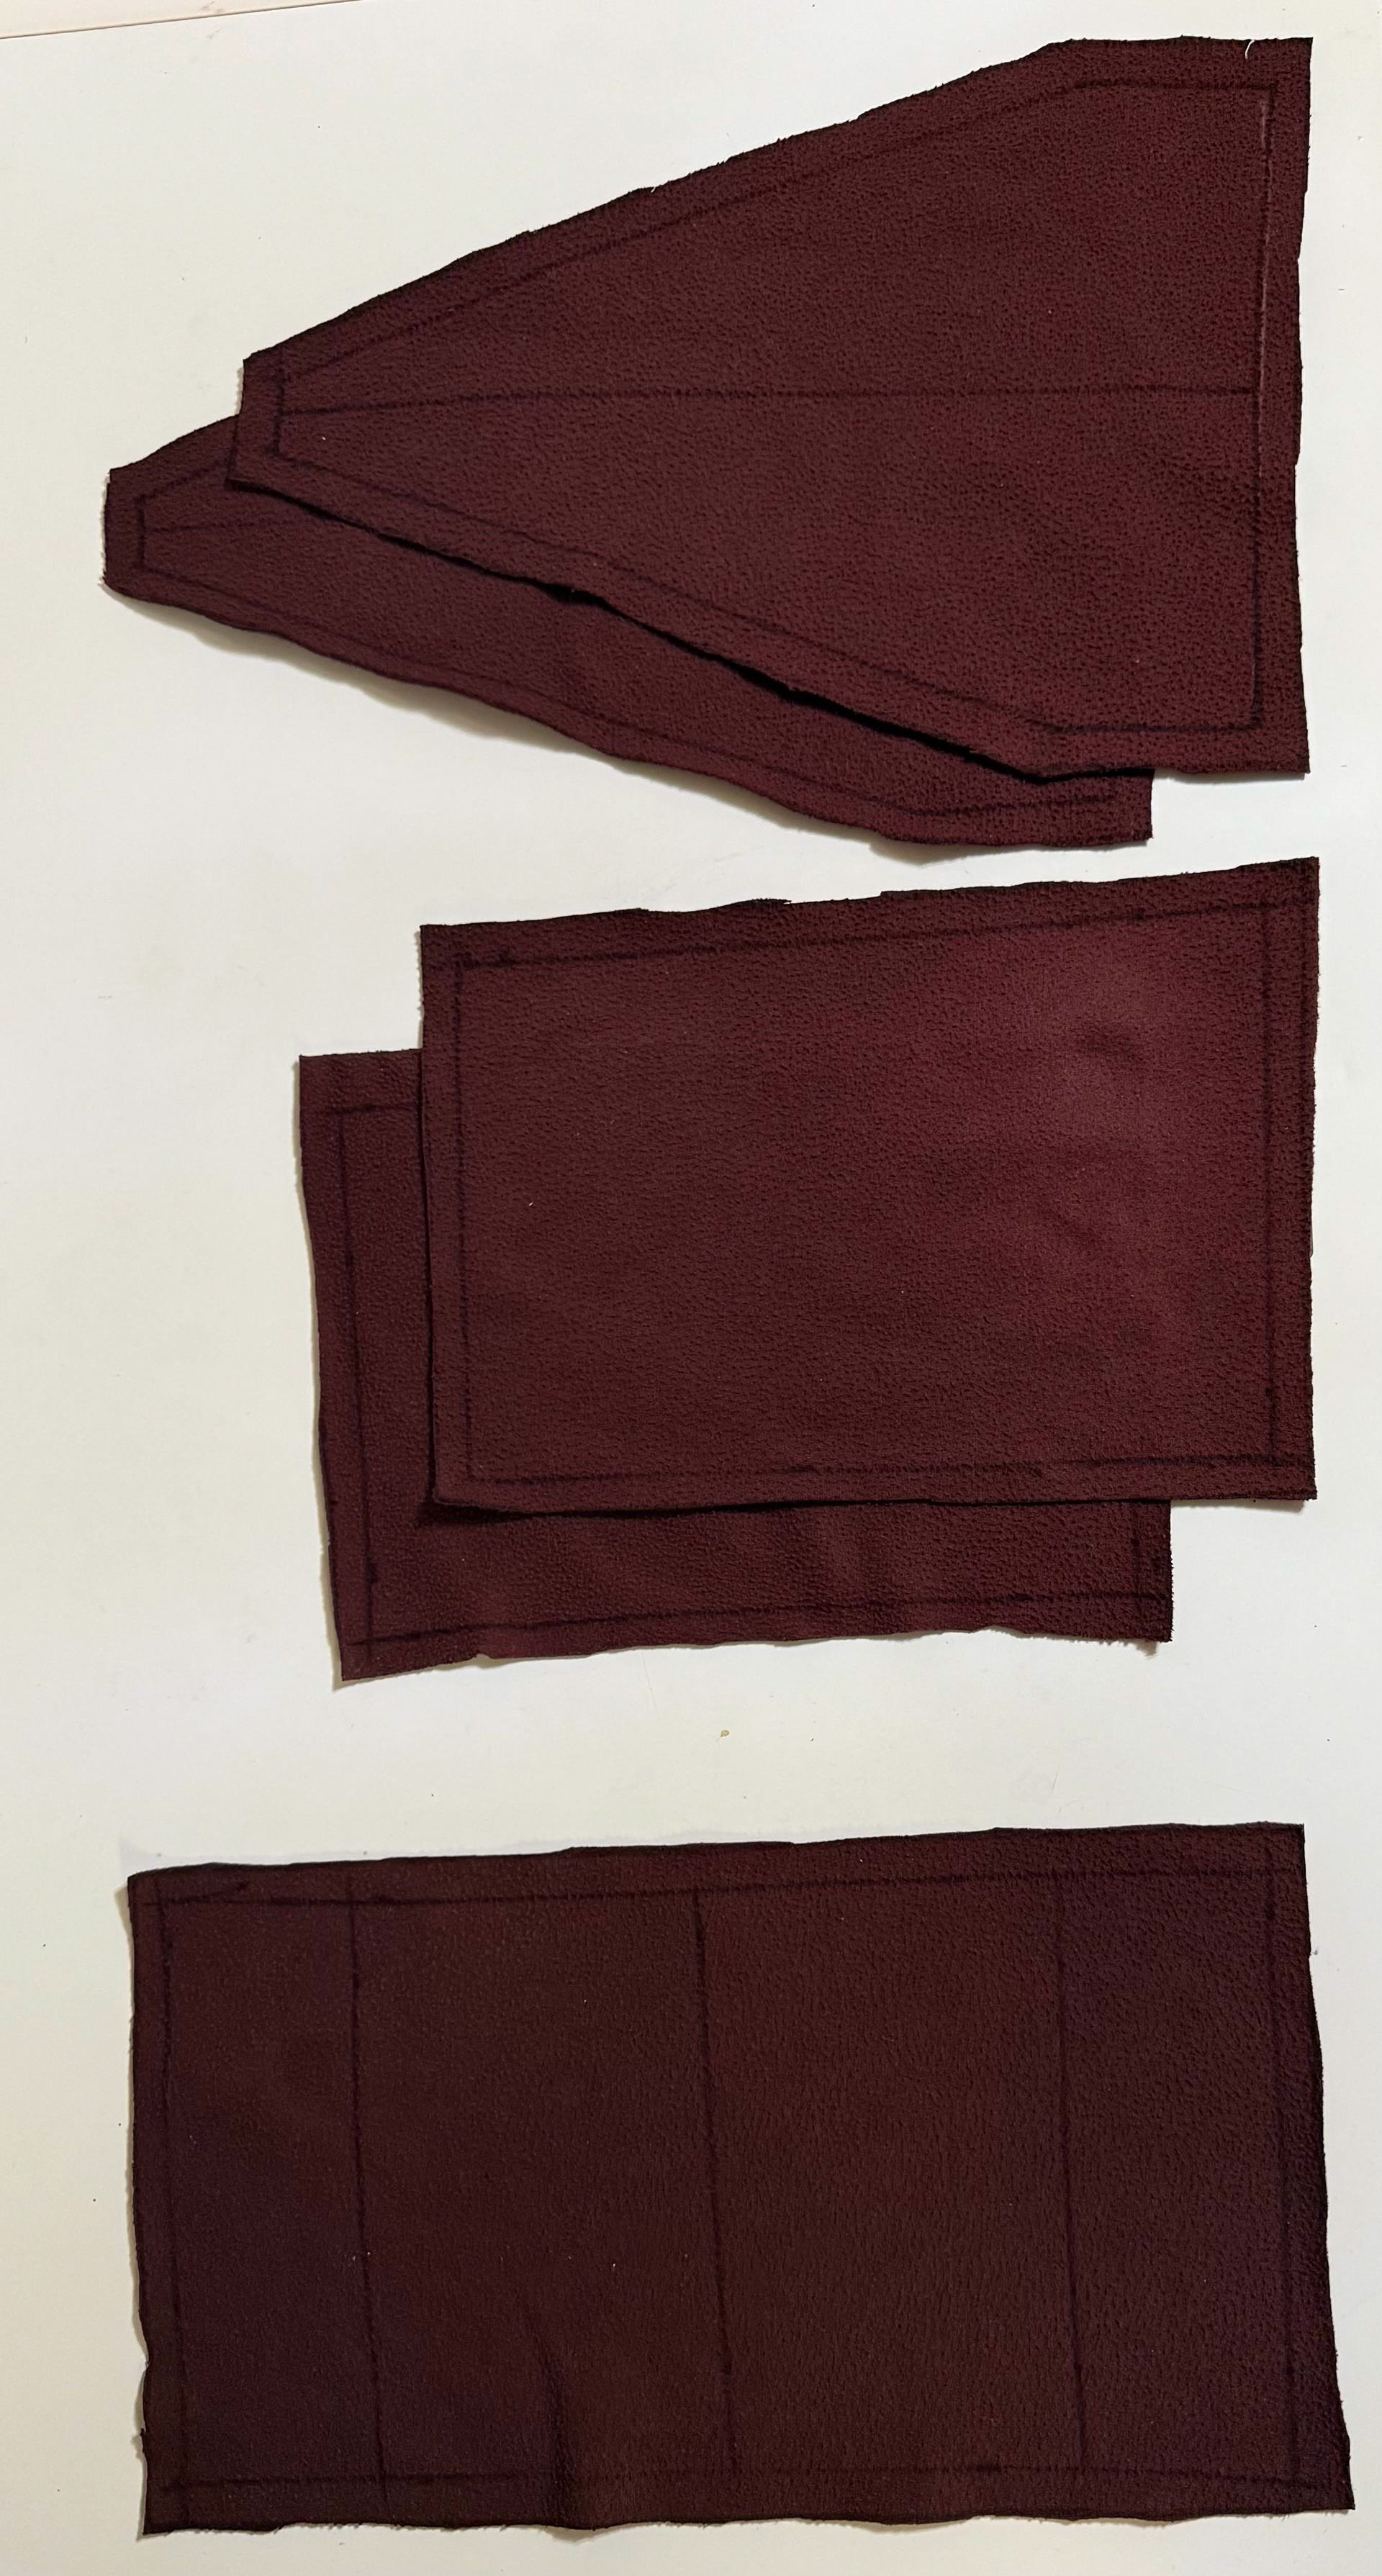
Muslin Pattern Cutouts
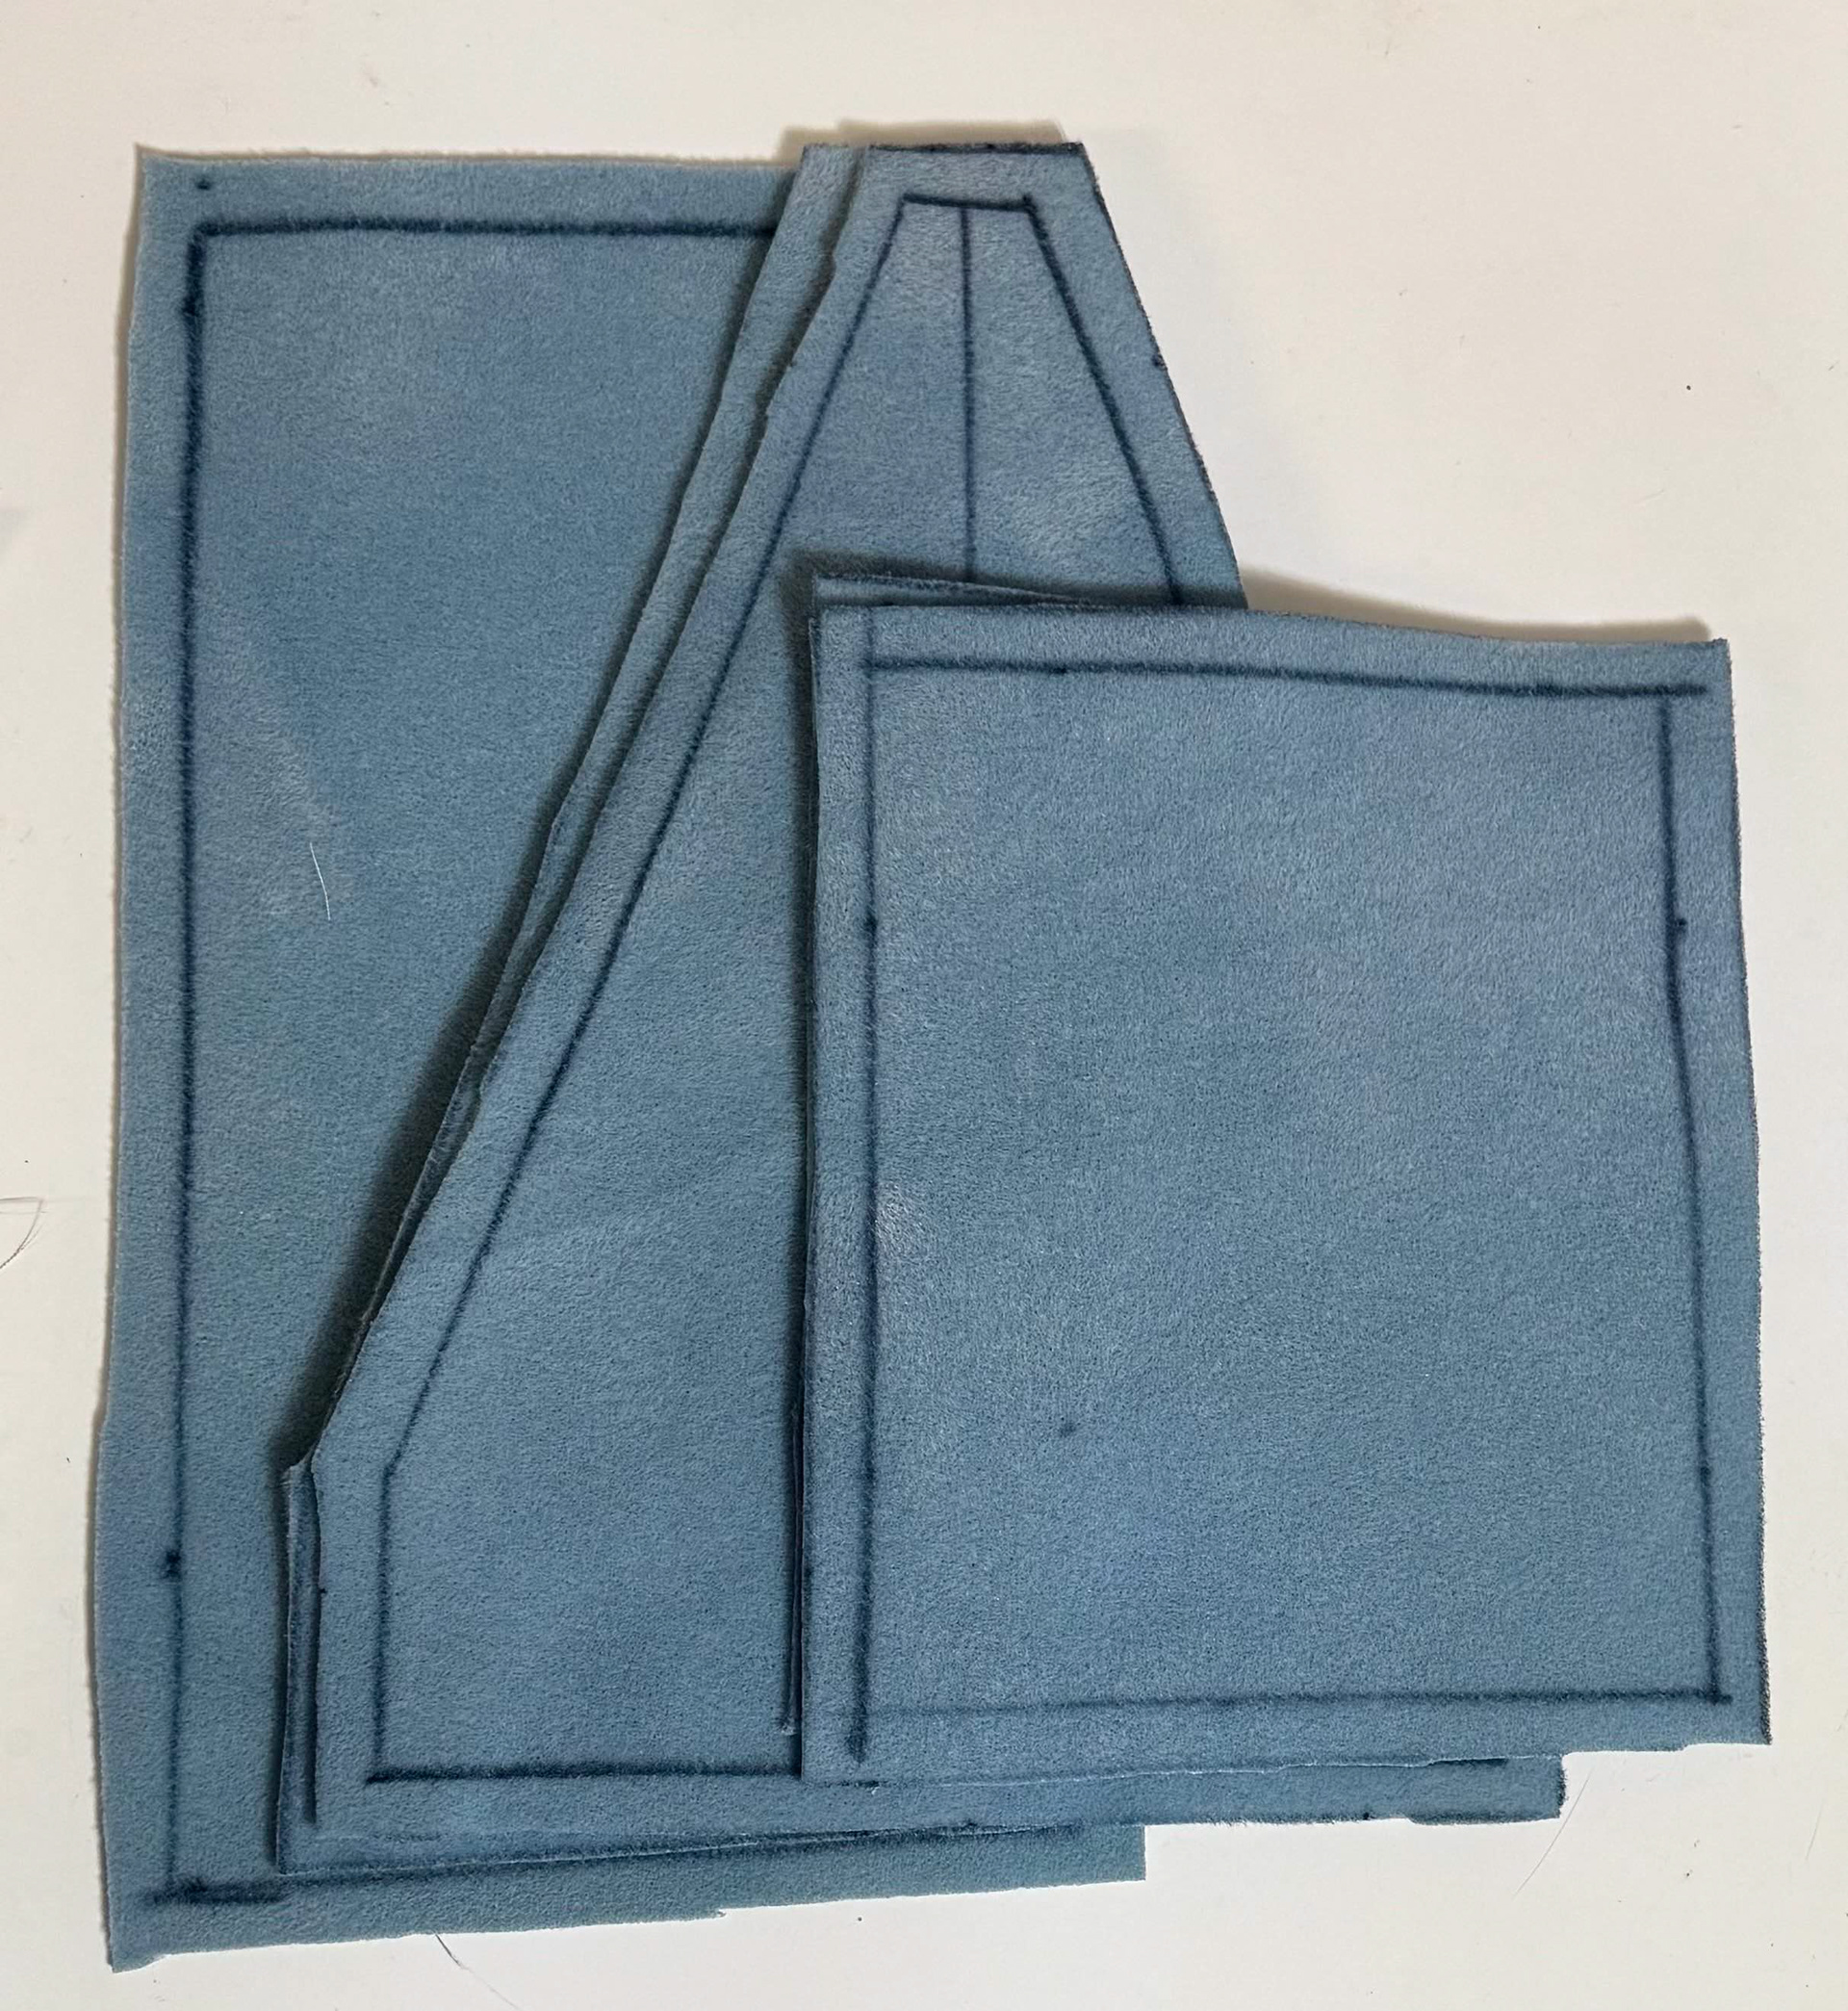
Material Similar to Faux Minx Pattern Cutouts

Materials Sewn Together
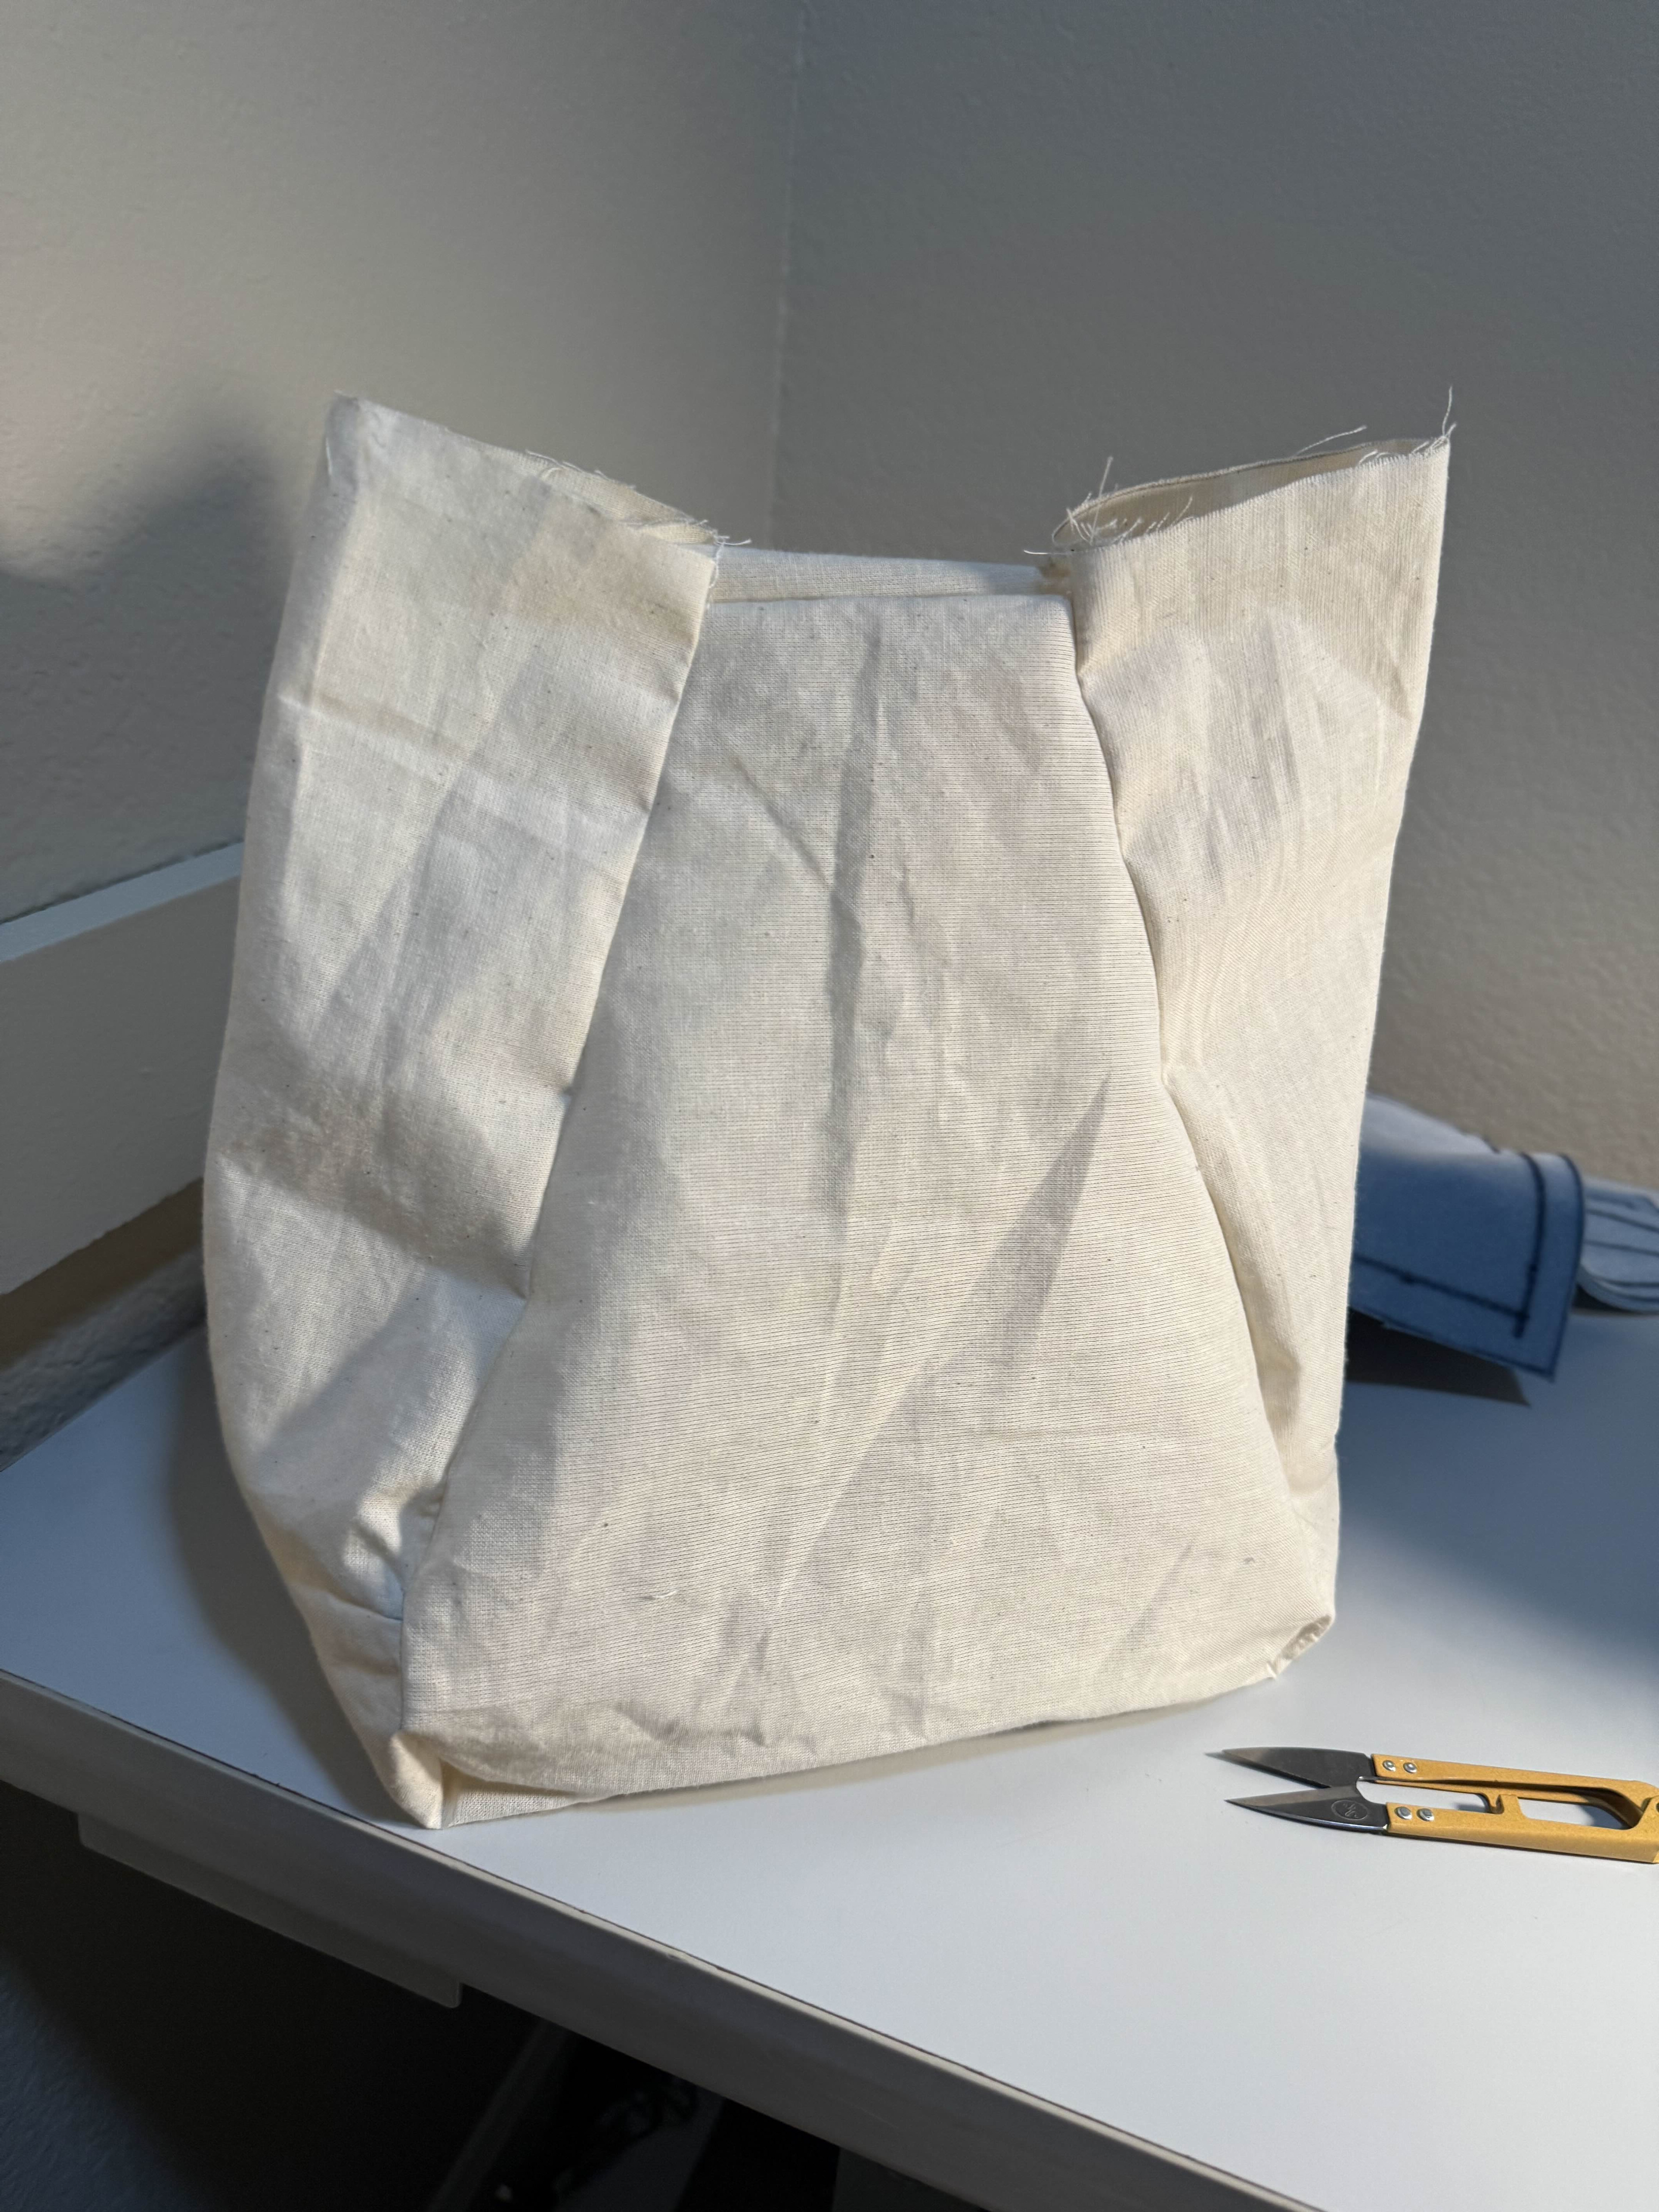
All Sides of the Material Sewn Together
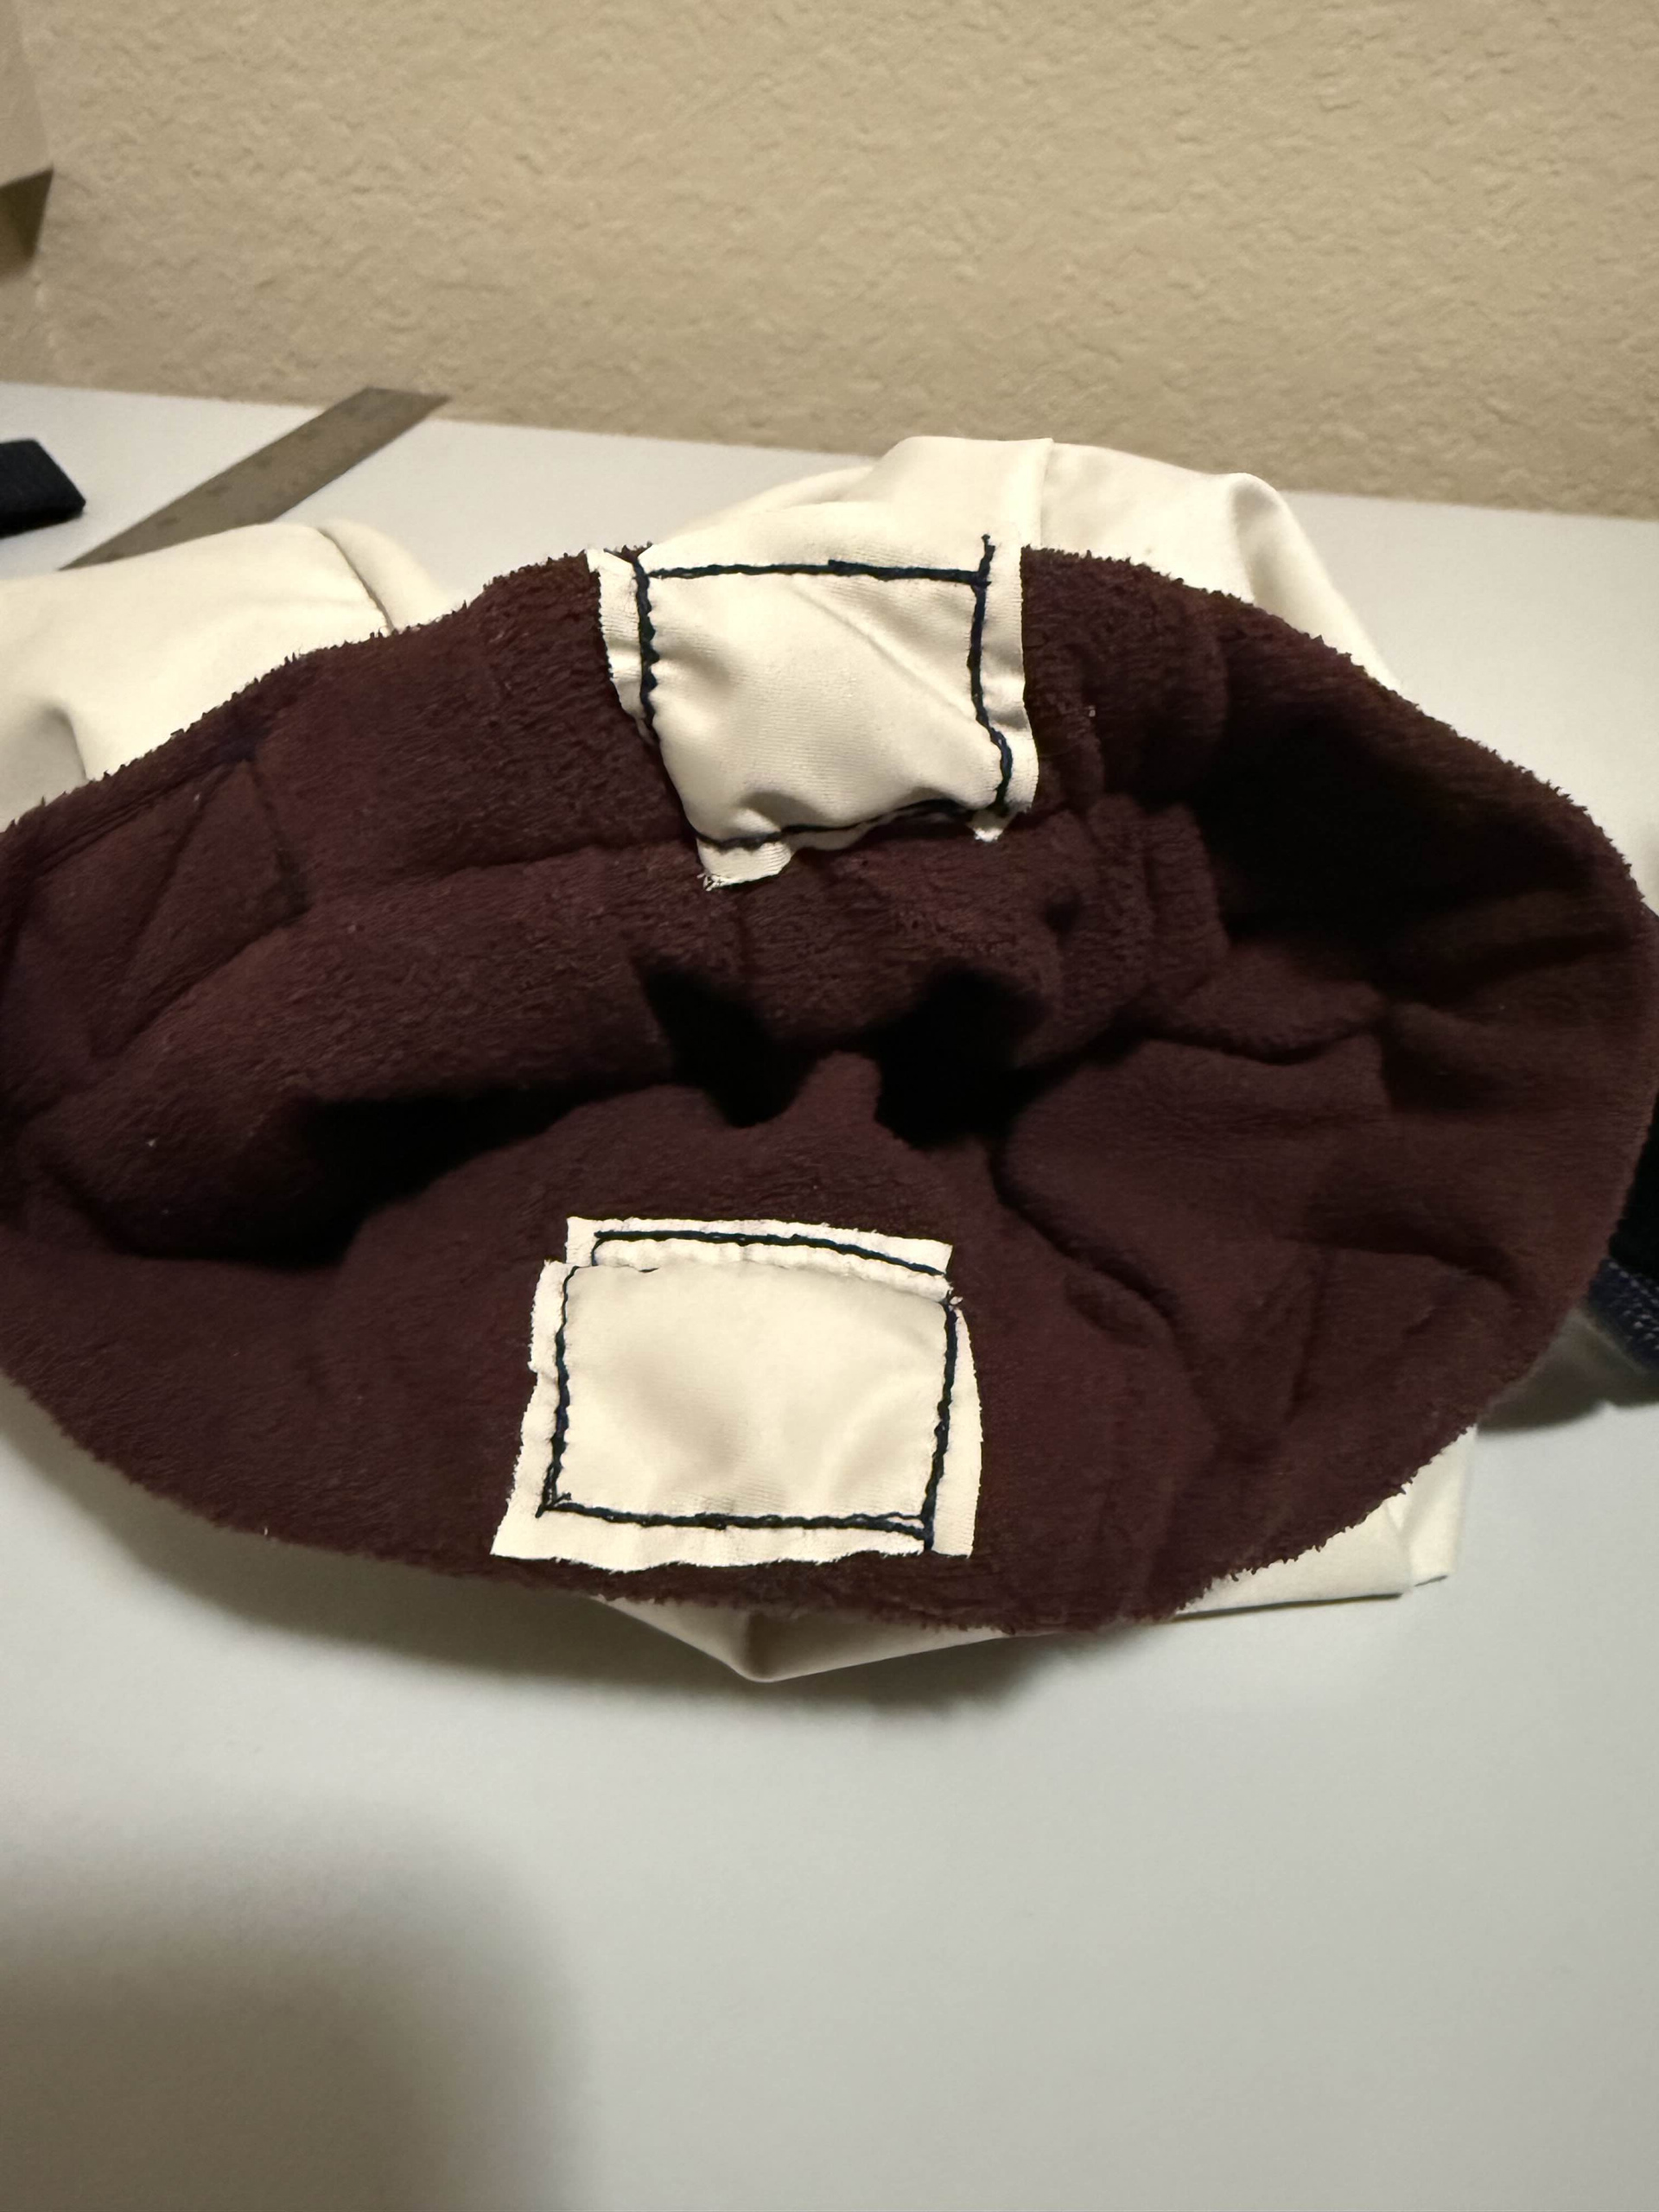
To add closing mechanisms, I sewed magnets on the inside of the material as well as excess material on the top sides to create loops for the buckle which was to be added to the final iteration. As seen in this iteration, the sewing lines for attaching the magnets are visible from the inside since they were sewn on at the end. This is one thing I changed for the final iteration.
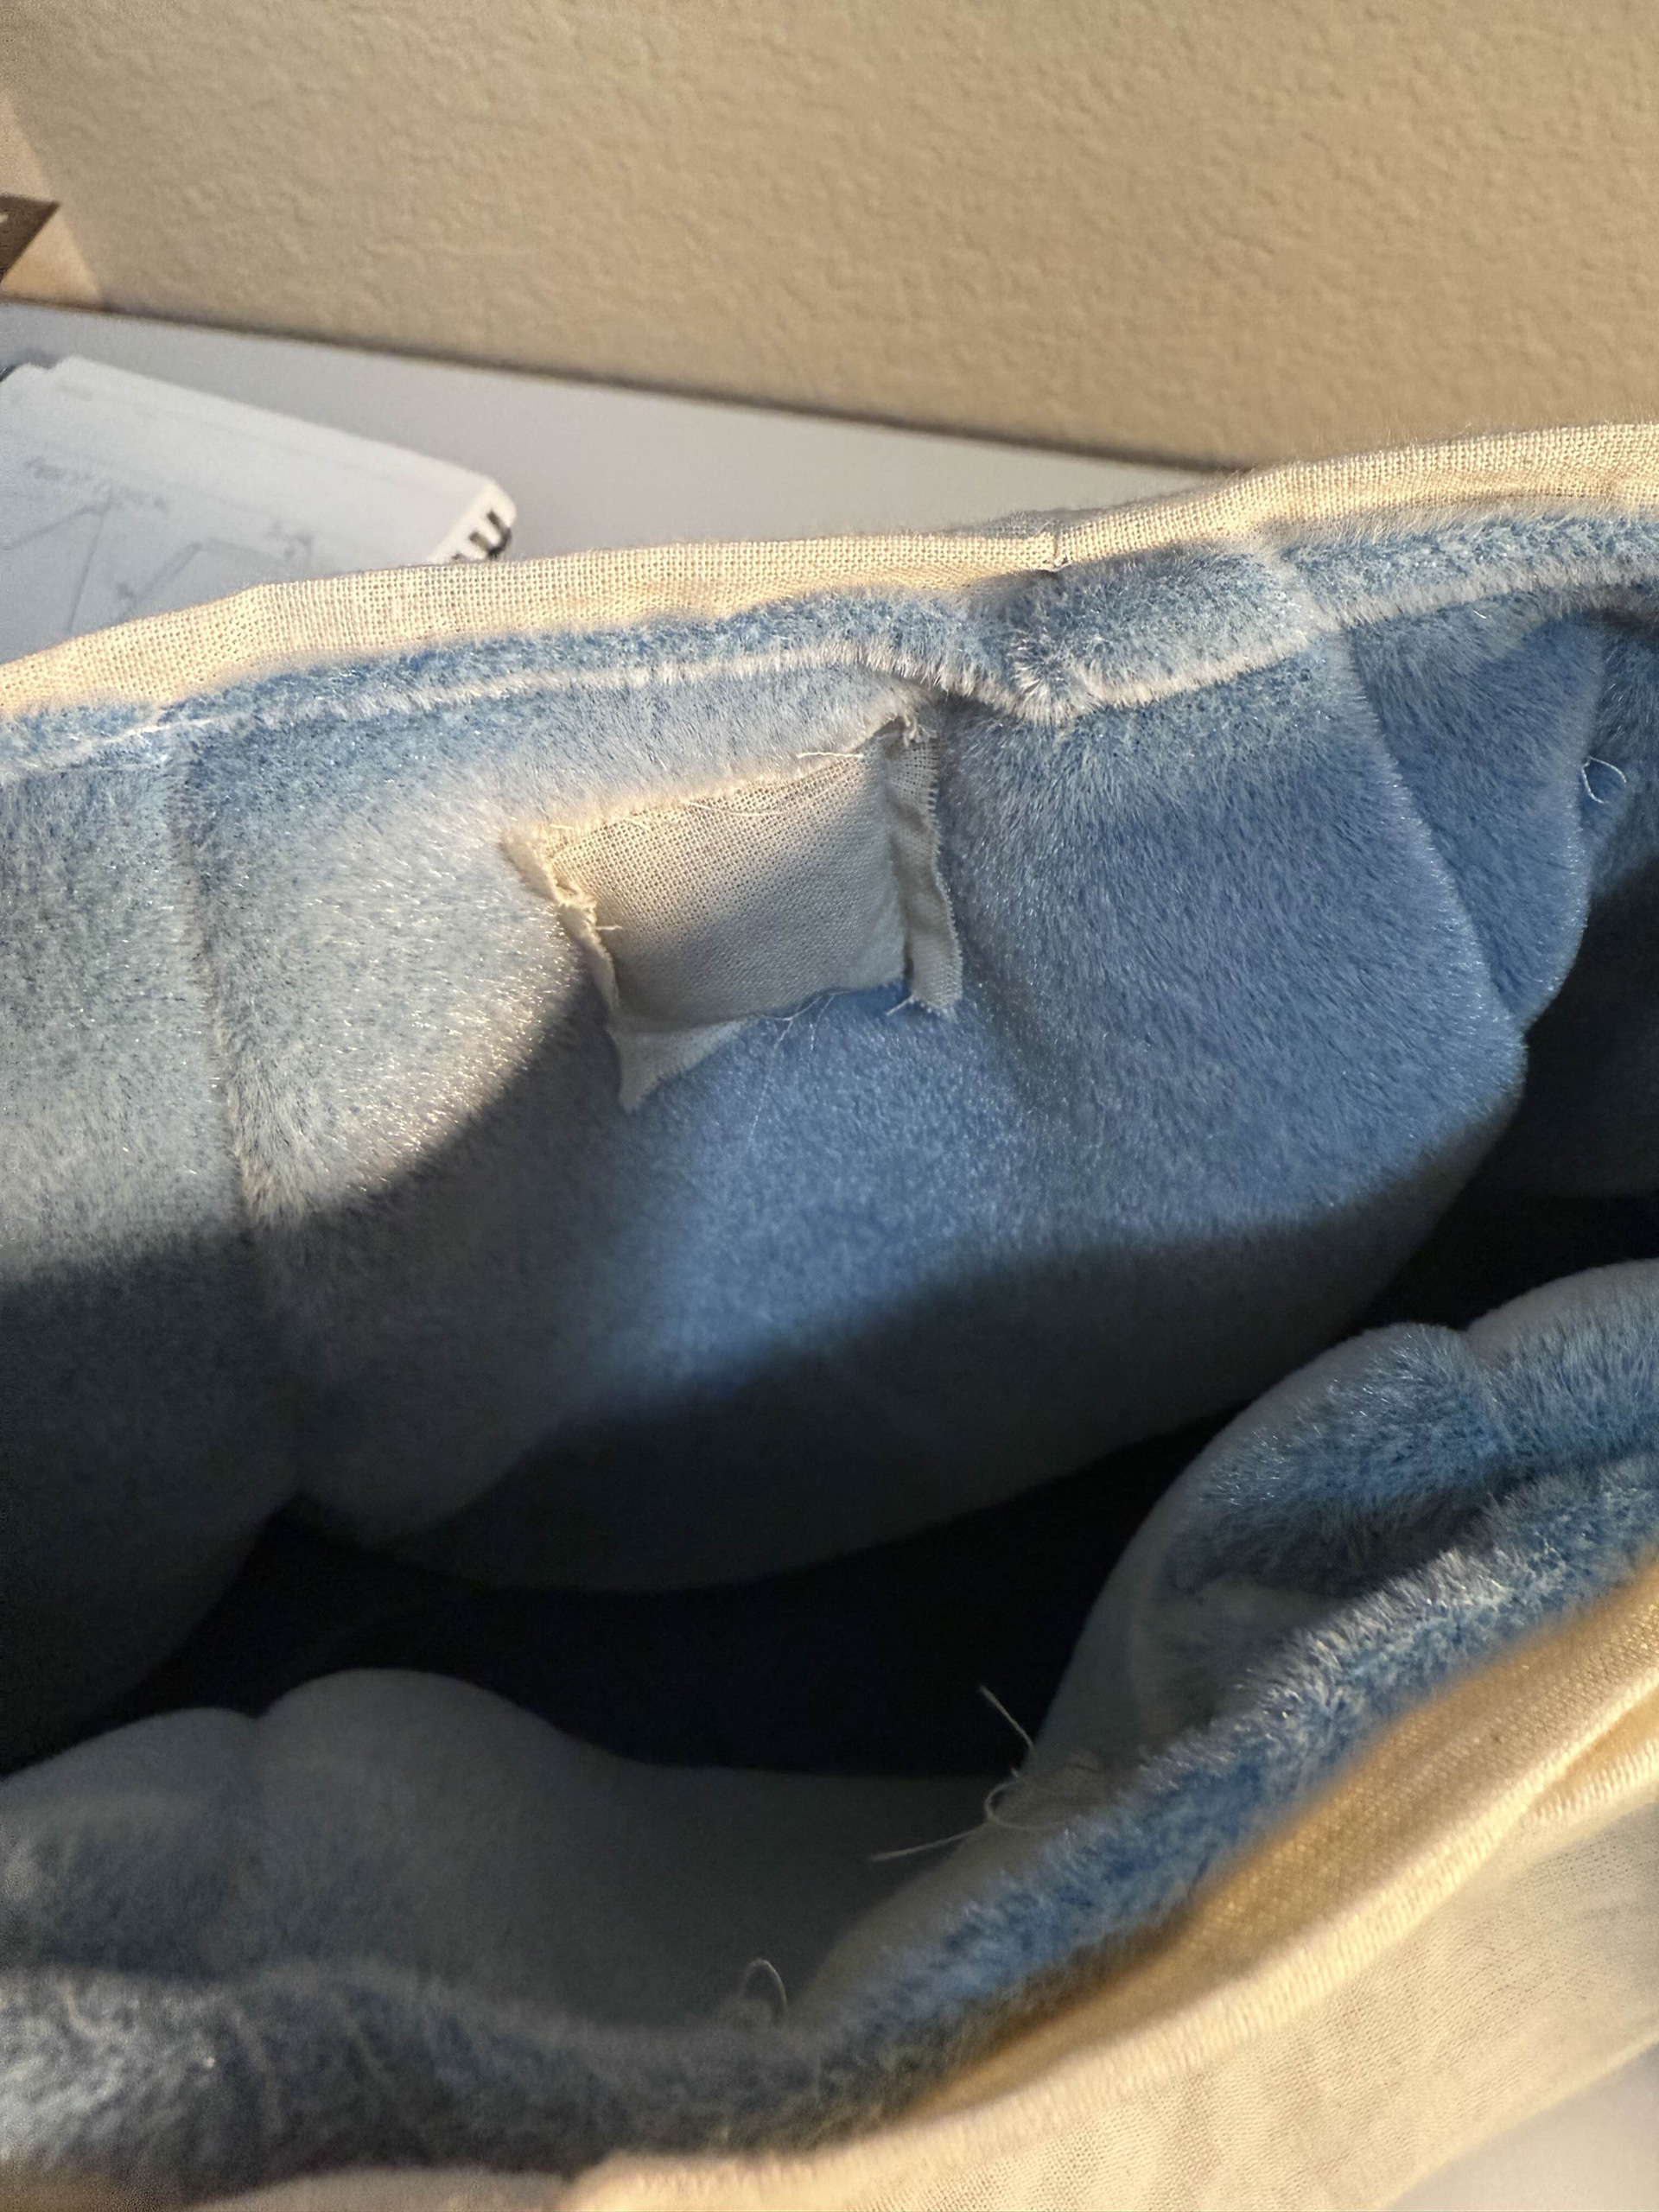
Added Magnets Inside the Opening
Added Material on the Top Sides for Future Buckle Implementation
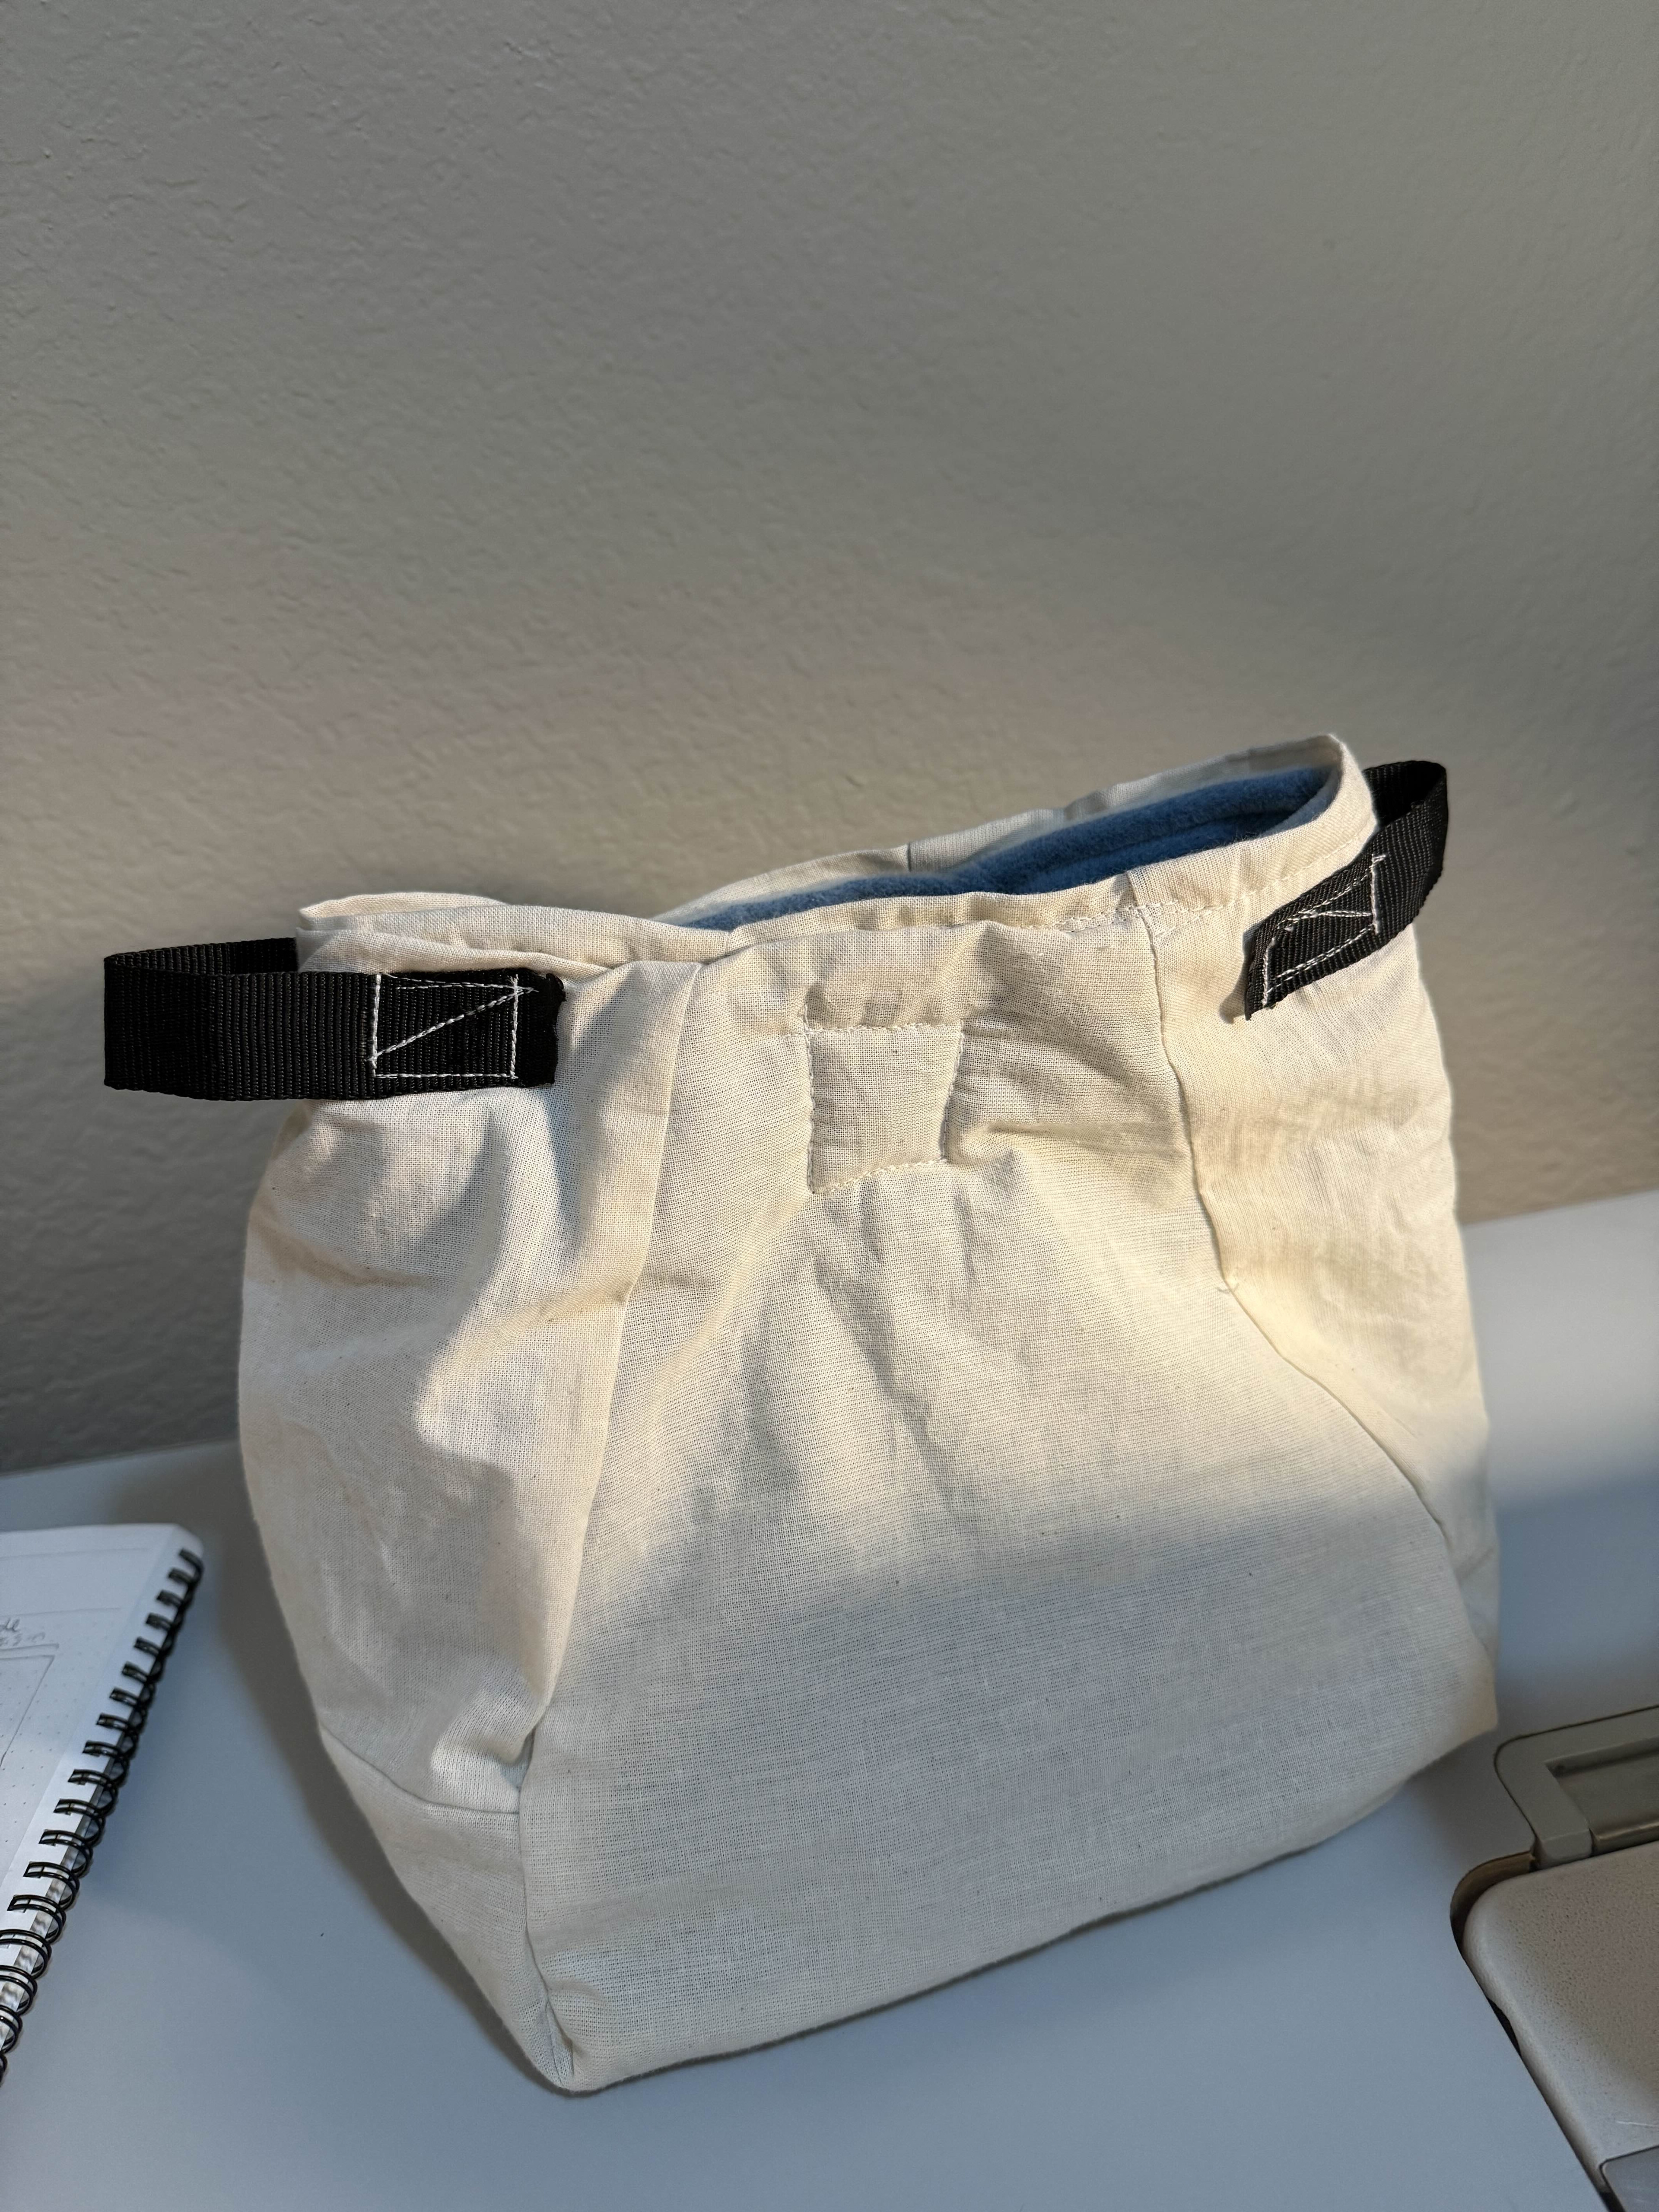
After measuring out and cutting out the material for the final iteration, I sewed the material together, added the magnets on before attaching the outside and inside material together. I added the extra material on the top for the loop as well as the metal buckle for the finishing closure mechanism.
Mixed MaterialPattern Cutout
Fleece Pattern Cutout
Sewn on Magnets on the Inside of the Bag
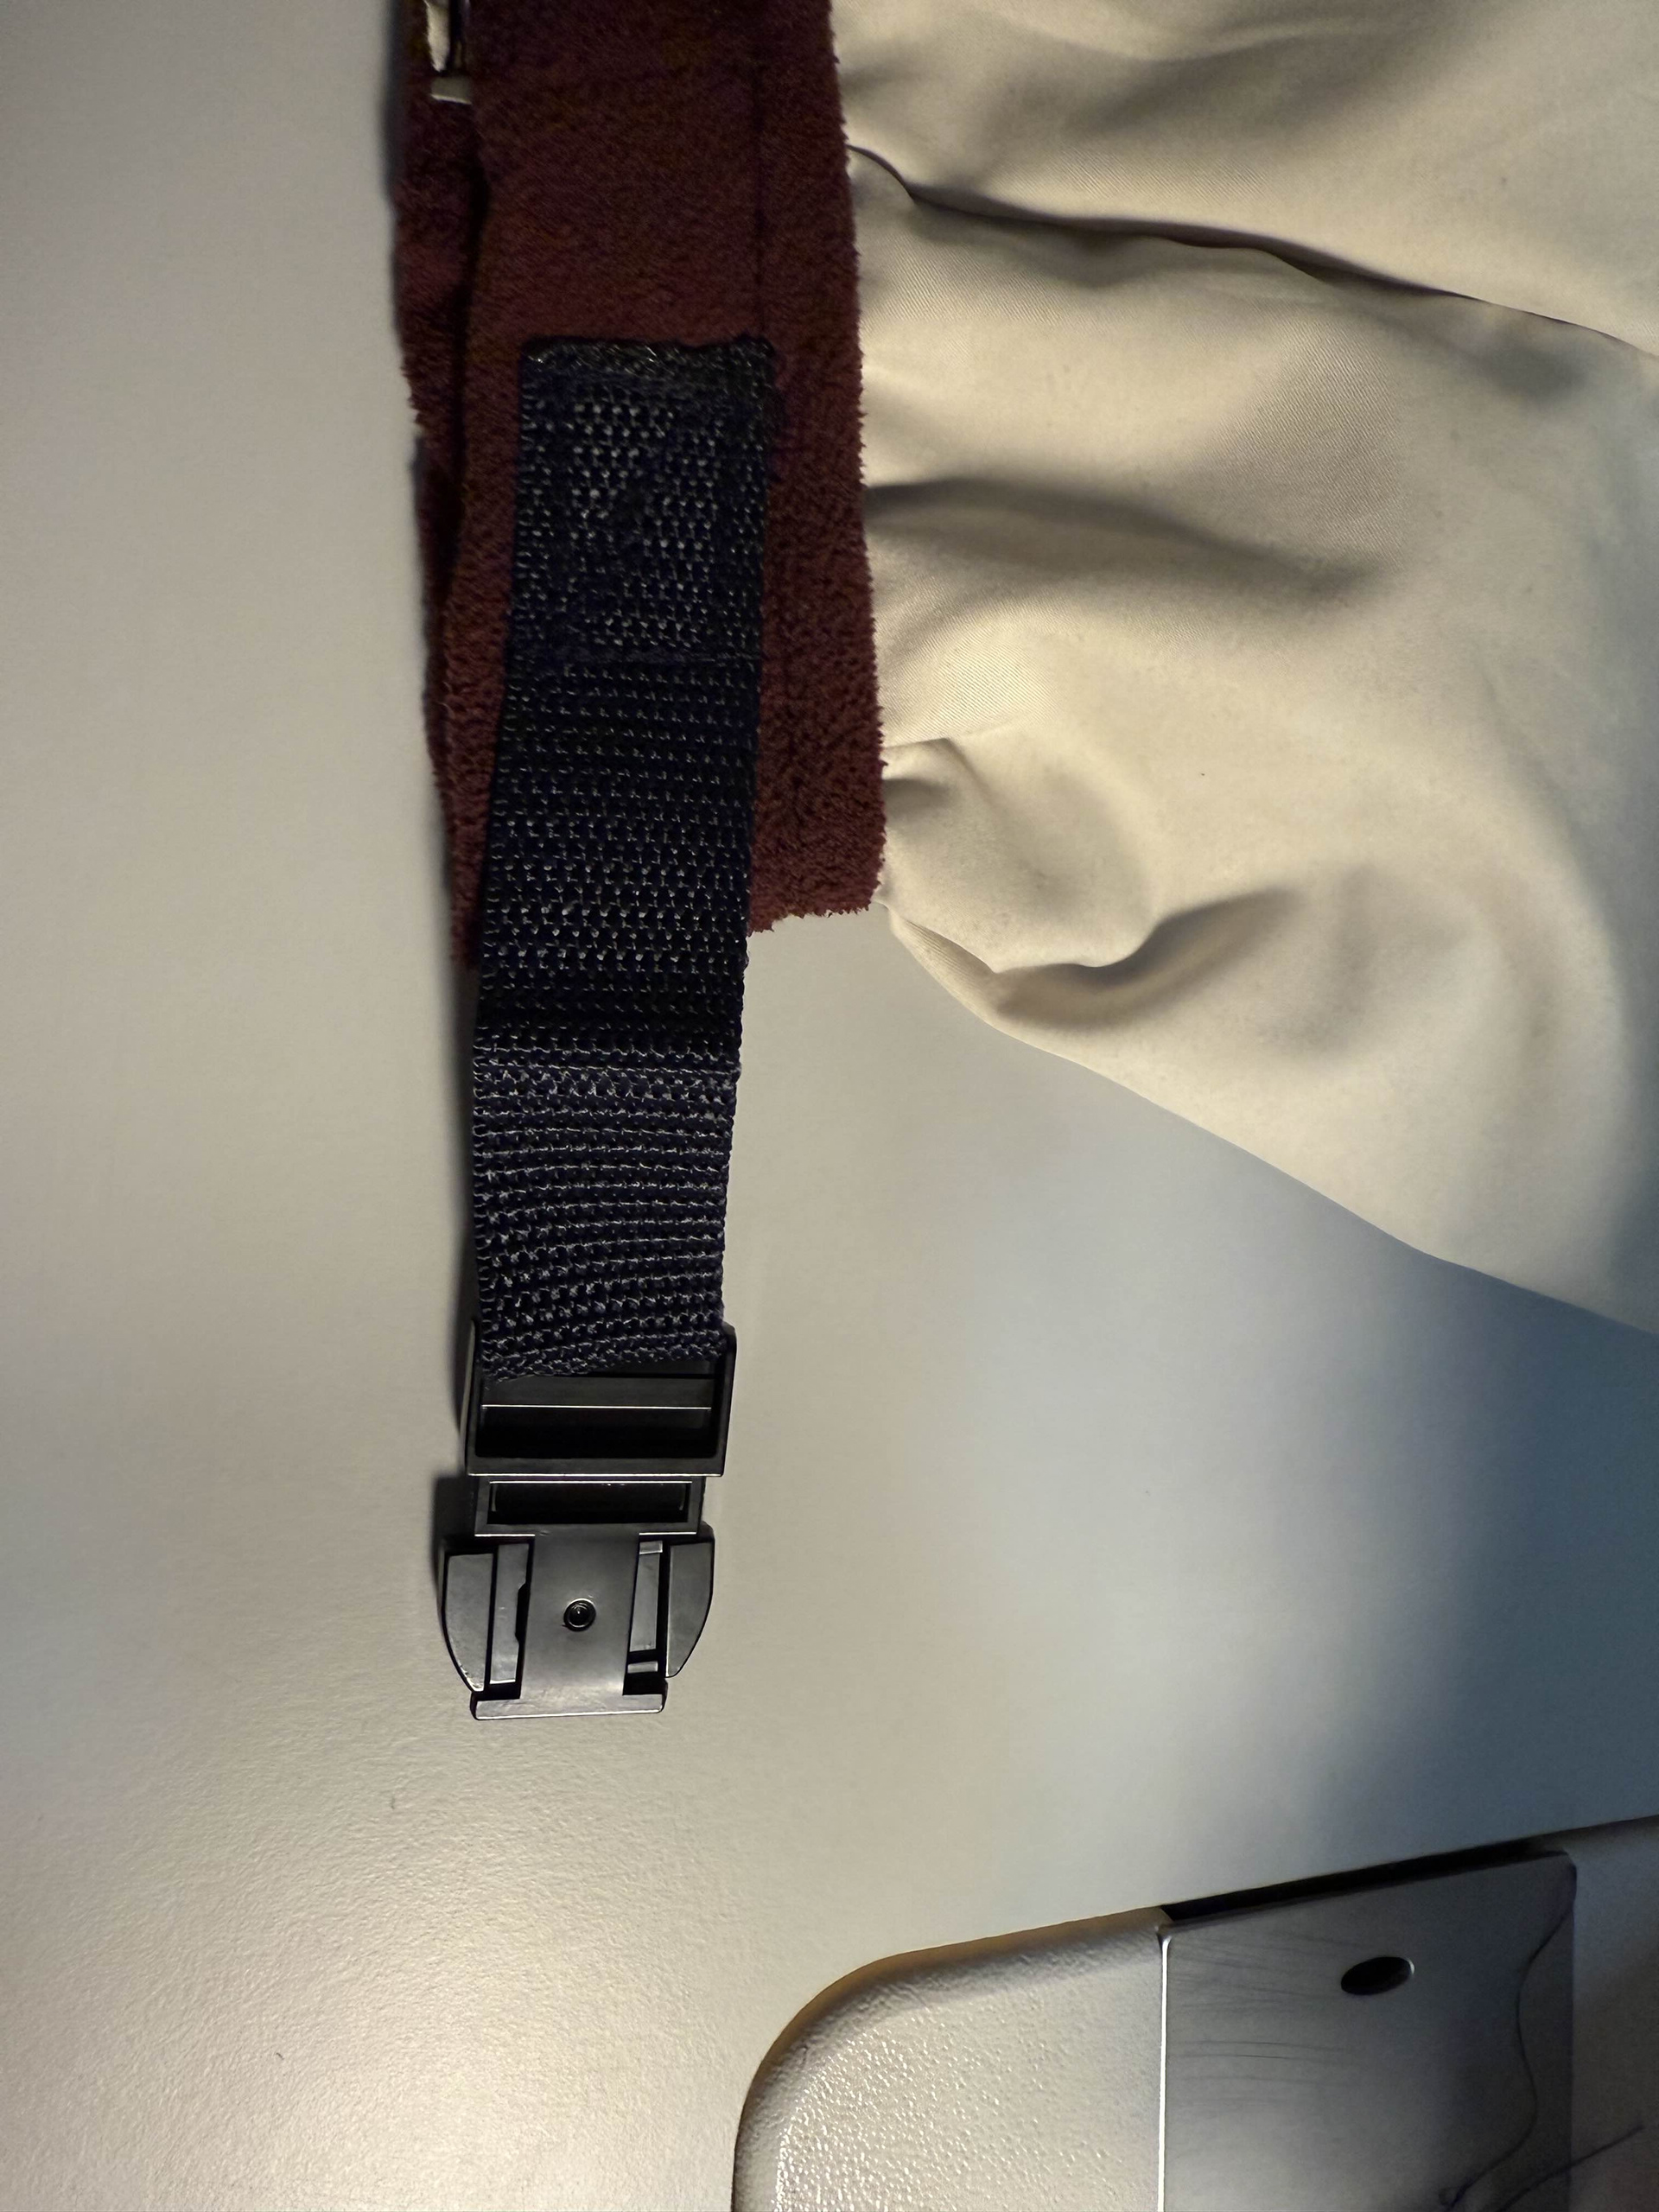
Sewn on Metal Buckle
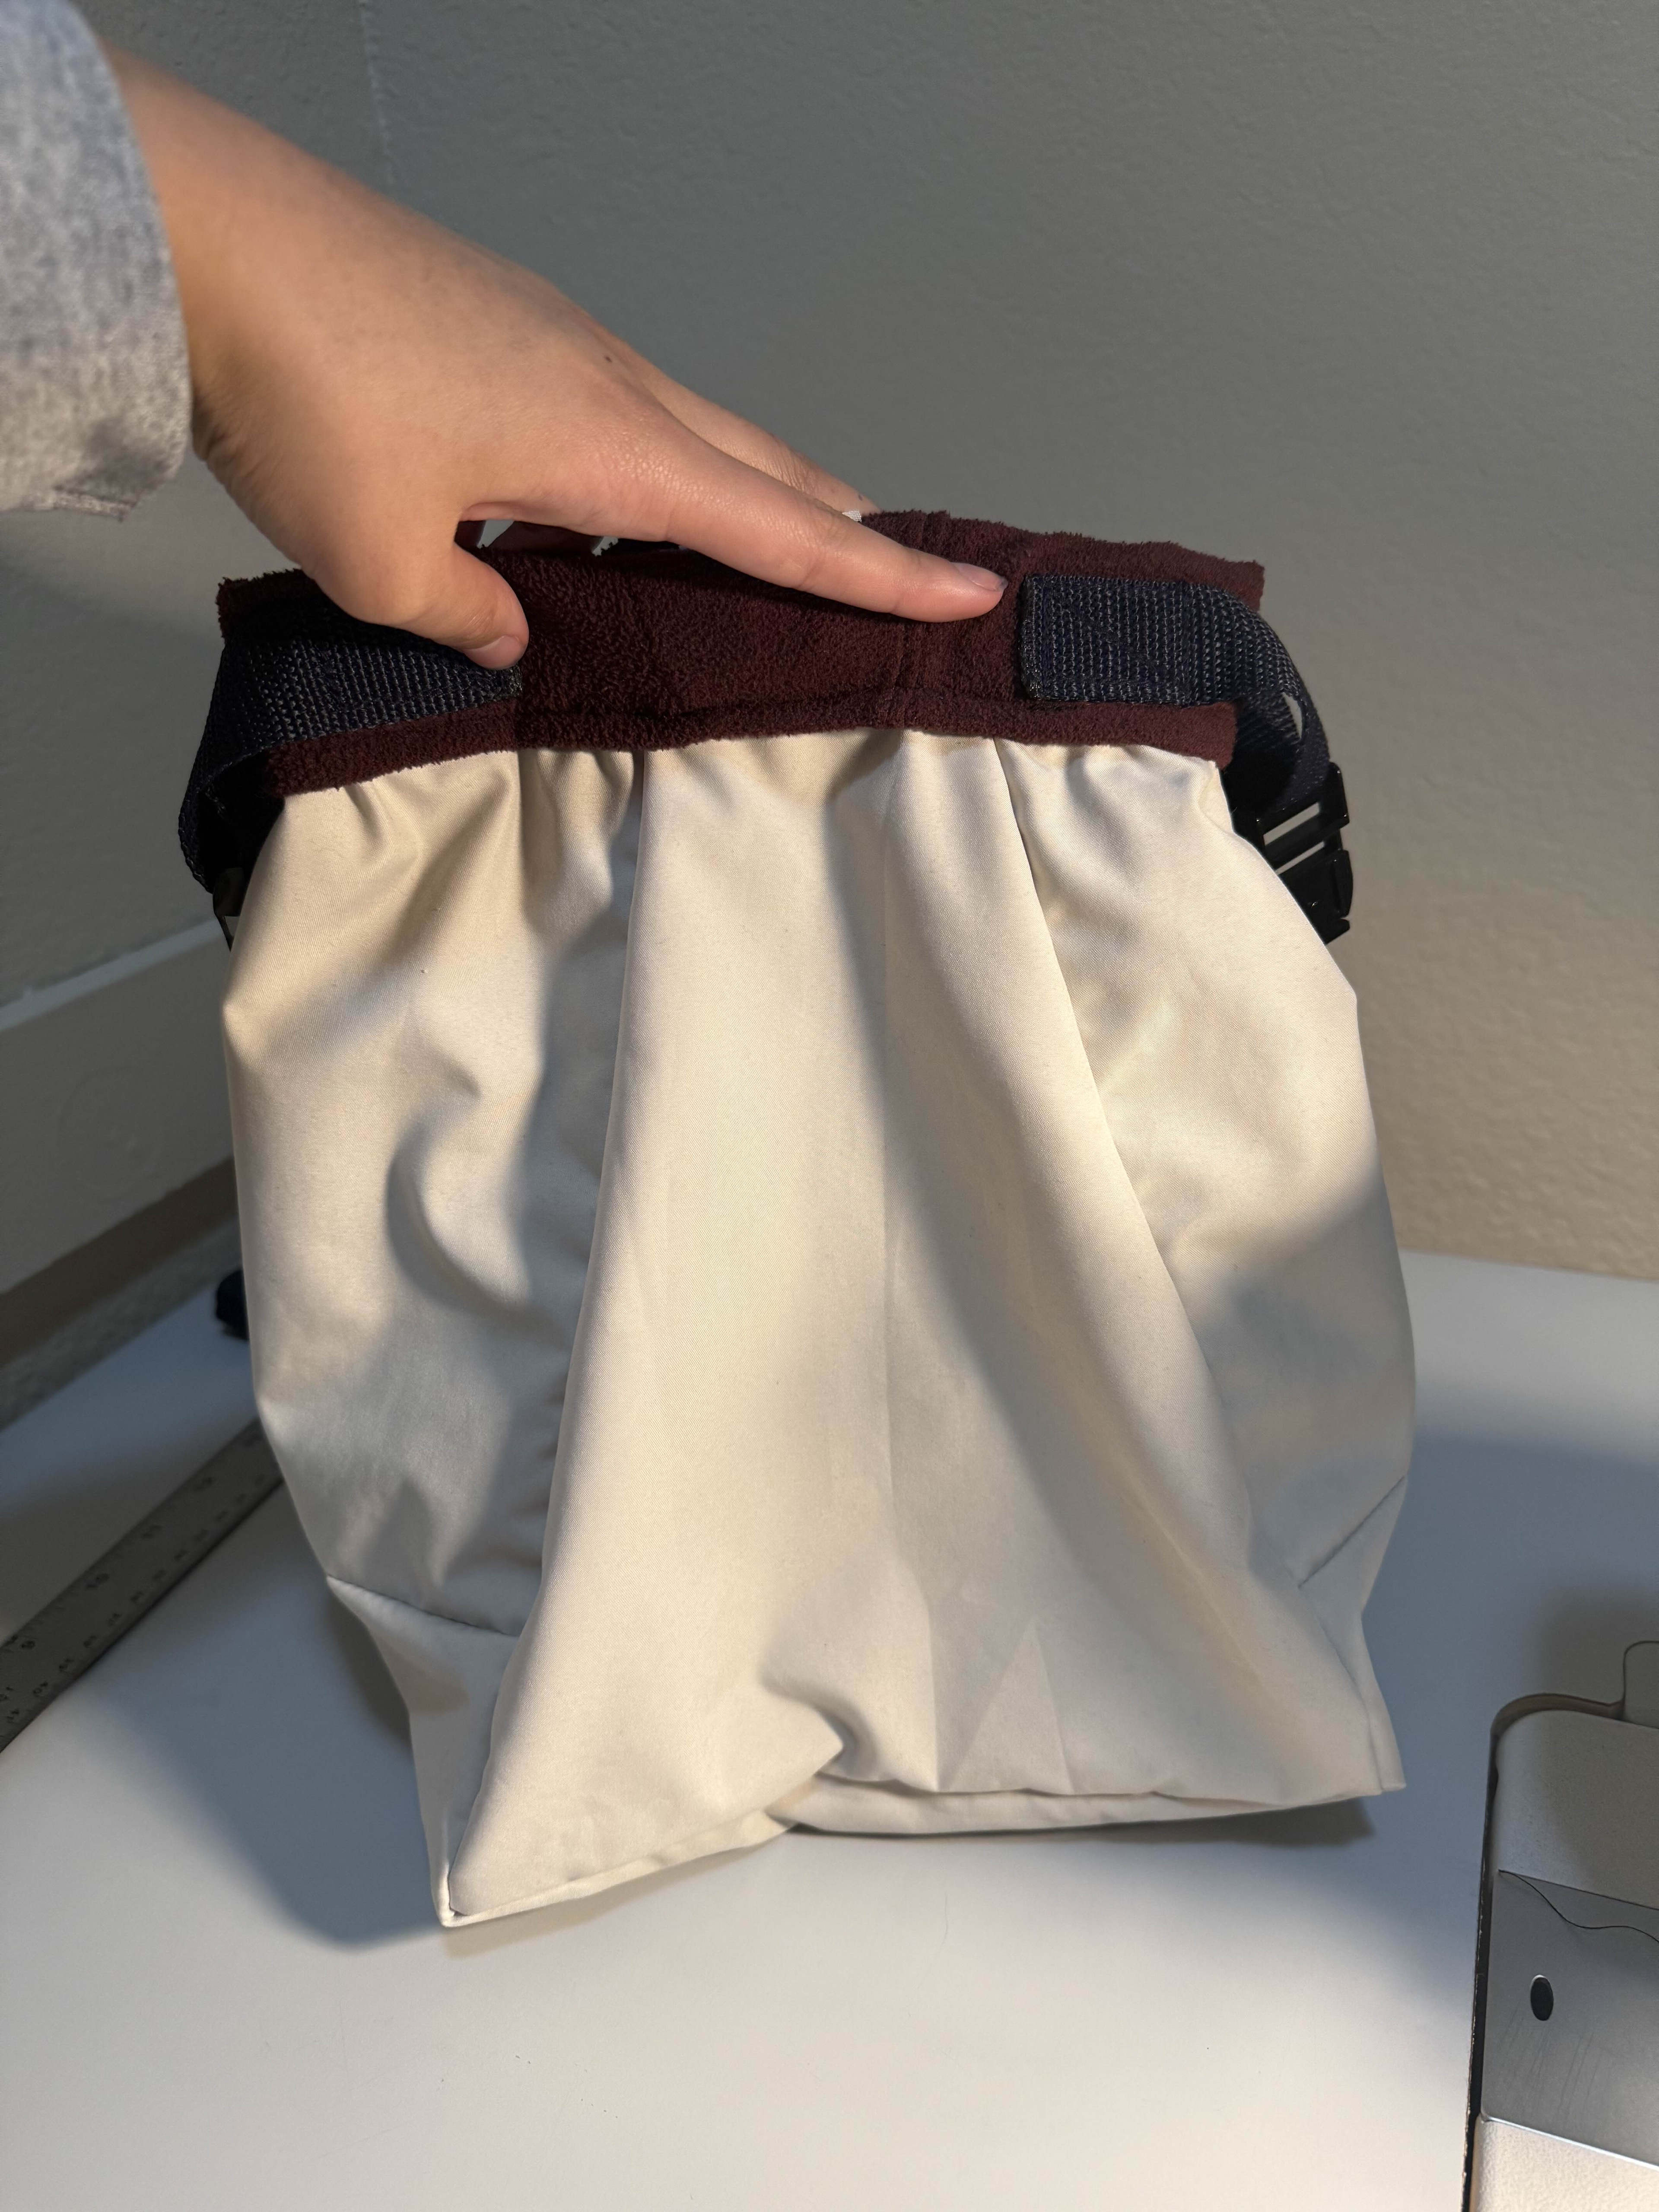
Finished Final Iteration
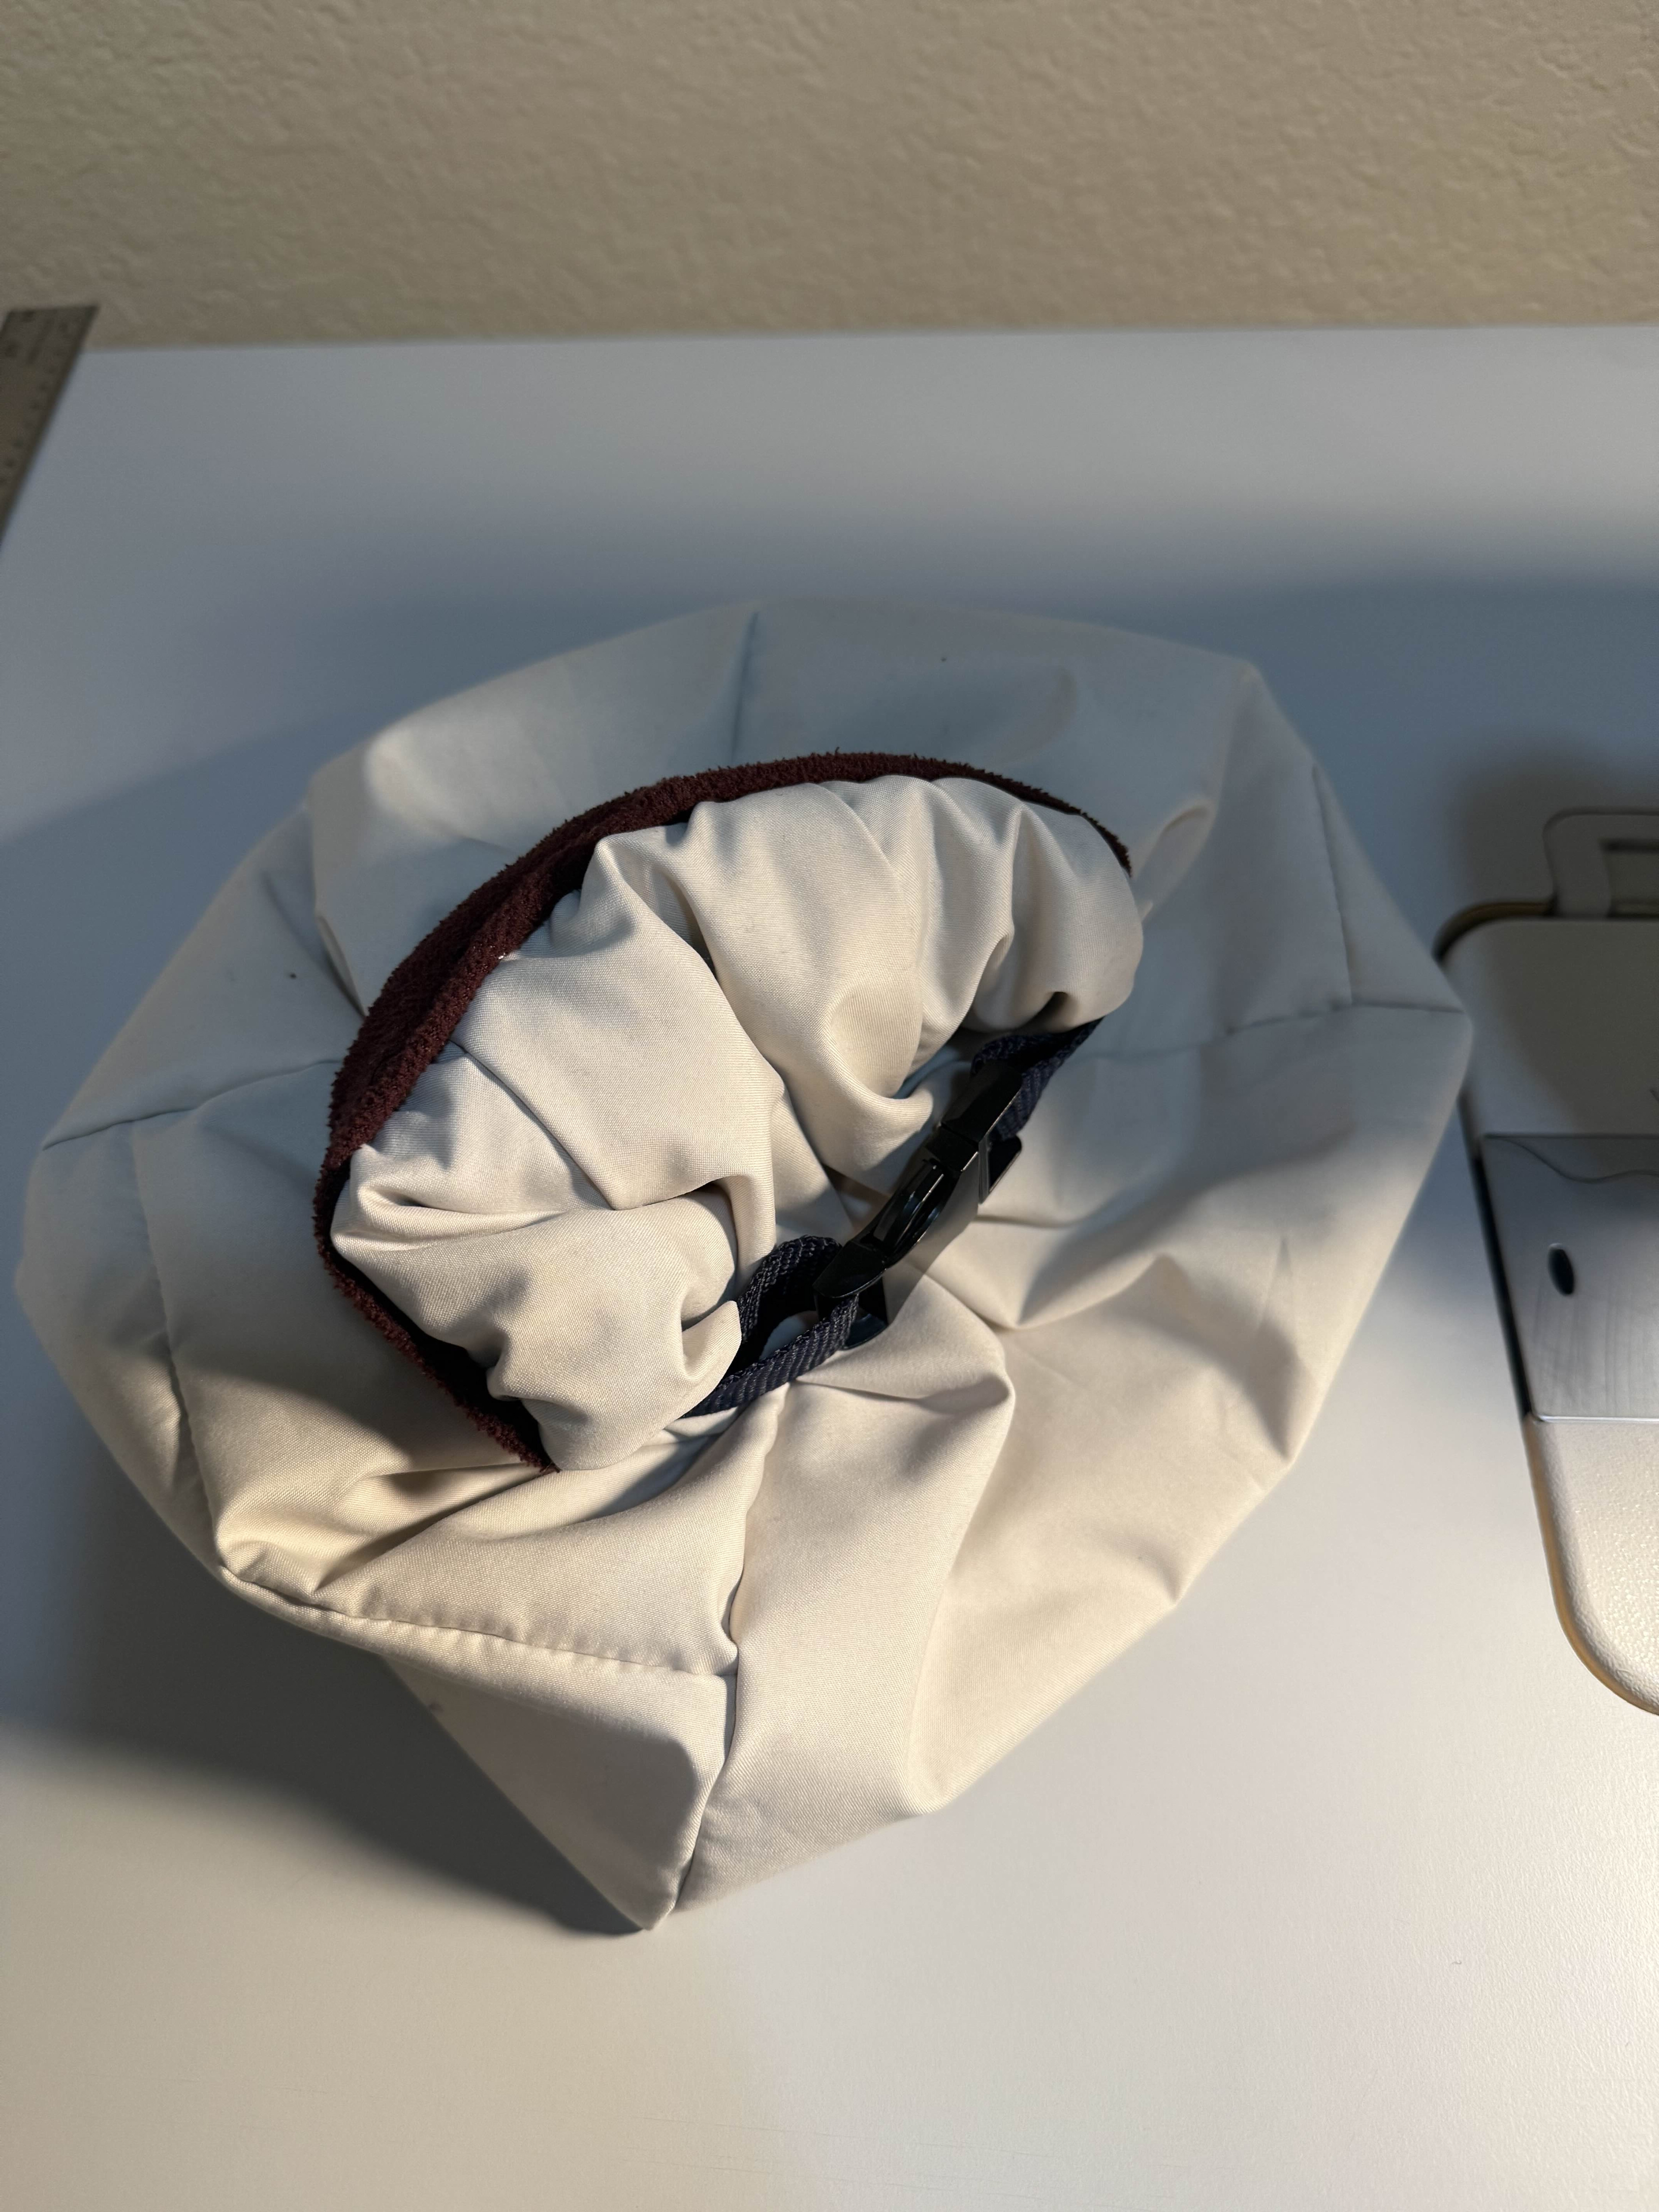
Finished Final Iteration with Buckle Closure Shown
Analysis
Paper Iteration
For the paper iteration, I really liked the shape of the bag but realized that with the sides and bottom being the same piece of material may make the structural integrity of the bag would not be good. To mitigate this issue, I made the sides and the bottom to be separate pieces for the future iterations.
First Sewn Iteration
This iteration was a great learning experience in figuring out how to make the corners of the bag more seamless and clean. I learned how to connect the two materials together, but decided to do it a different way for the final since this way was not as clean looking as I would have liked.
Having added the magnets to the bag after the two materials were sewn together, there was a visible seam on the outside of the bag. I did not like the look the the seam so I decided to change this for the final.
I noticed the bag had too much structure which prevented the buckle closing mechanism from being effective. I both liked and disliked the structure the bag had since the structure allowed the bag to stand on its own, which was nice, but making the buckle closing mechanism ineffective was a big minus. Weighing the pros and cons of having lots of structure, I decided to add some length to the dimensions for the final iteration as well as switch to a thinner material for the inside lining. This would reduce the amount of structure for the final product but allow for the easy usage and proper bag shape for the final iteration. Fleece is also the most common lining used in chalk bags and buckets so this was the most reasonable switch of materials to do for the final iteration.
Final Iteration
Having the sewing practice from the iteration before, the actual sewing process for the final iteration went smoothly. I had more even tension between the material and straighter lines for each connection. I also made cleaner corners and edges which was an aspect I was particularly proud about.
Deciding to change the way I connected the inside and outside material was a choice I made to create a cleaner finish on the top while allowing some space for the securing of the buckle mechanism so the placement would not look out of place without the lip.
In the previous iteration, I disliked the visible seams from the securing of the magnets so by adding the magnets to the inside material before the 2 materials were sewn together got rid of this issue.
Effectiveness of my design
My design for the chalk bucket was a partial success. The pattern and dimensions I made and finalized were a good size and shape for the use of a chalk bucket. The only issue of the design would be the breathability of the bag. Since both materials used for the final iteration were very breathable, this would be an ineffective chalk bucket, who's purpose is to hold chalk. In future iterations, I would like to either double up on the inner layer, to make it more difficult for the chalk to escape, or choosing a thicker fleece material.
I would also like to add some structure to the bag so it would be able to stand on its own. Interfacing fabric would add structure to the bag without affecting the shape and aesthetics since it would be implemented in between the inside and outside materials.